So, you are ready to assemble...
These things can seem tricky so we broke down the process to make it as easy as possible.
First, identify where you want to install the map. Pick your wall or door. We highly recommend a flat surface.
Take out all the sheets from the box. You can pop out all the pieces (be gentle). Combine like pieces (ones where you have duplicates of the same size) and put the piece with color at the bottom (so you don't accidentally stick it on before the others).
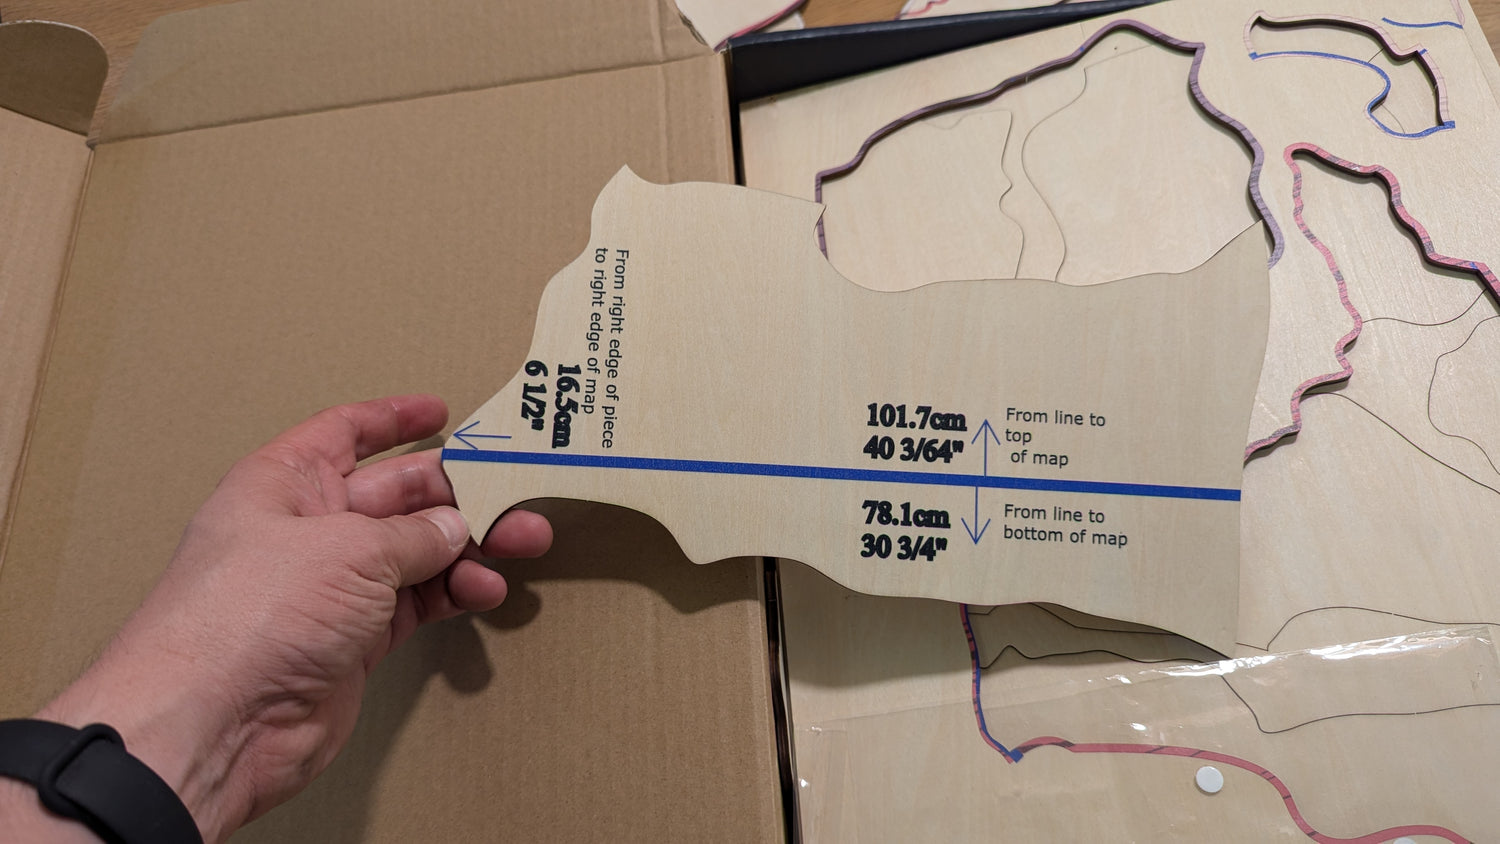
Keystone piece
There should be one piece that is plain wood but still has some basic printing on it (lines, numbers and directions). This will be the cornerstone piece that you will mount first and all the others will fit progressively from there.
This piece indicates how far it will sit from the very bottom of Eilat, and the very top of the Golan. It also shows how far the very left part of the section will sit relative to the far left edge of Gaza. This will help you to locate this piece correctly on your surface.
How to start
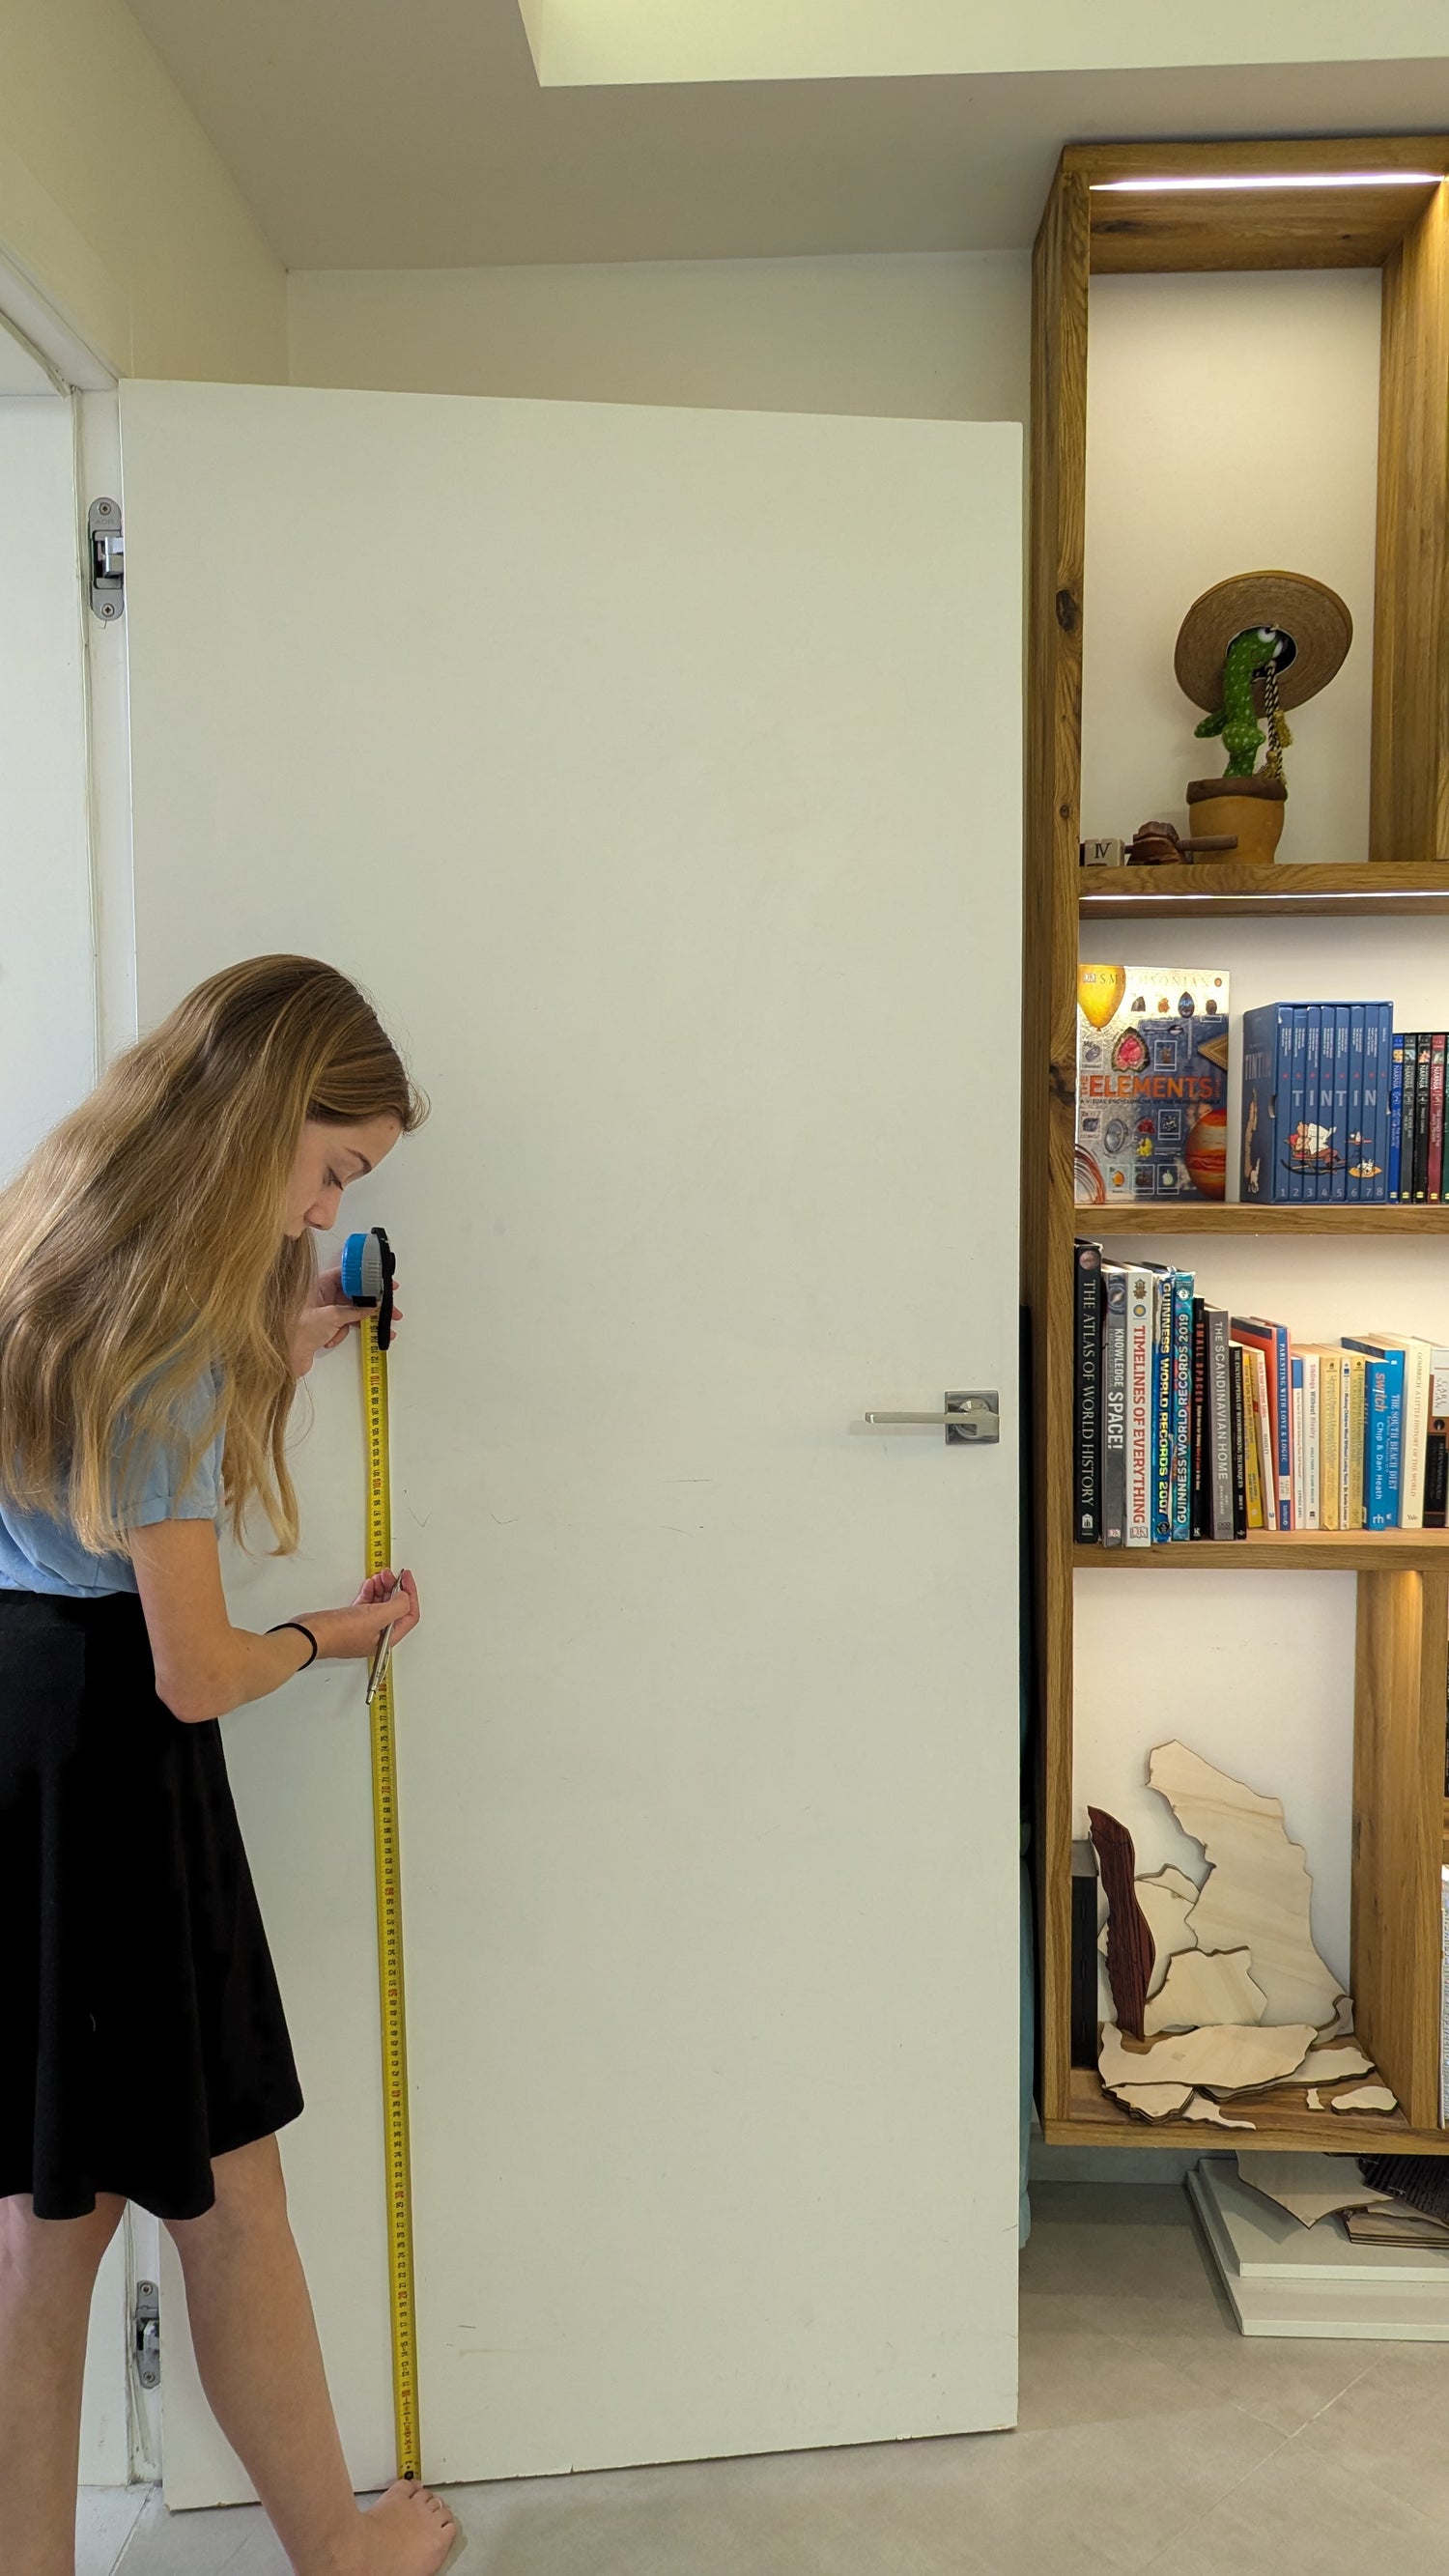
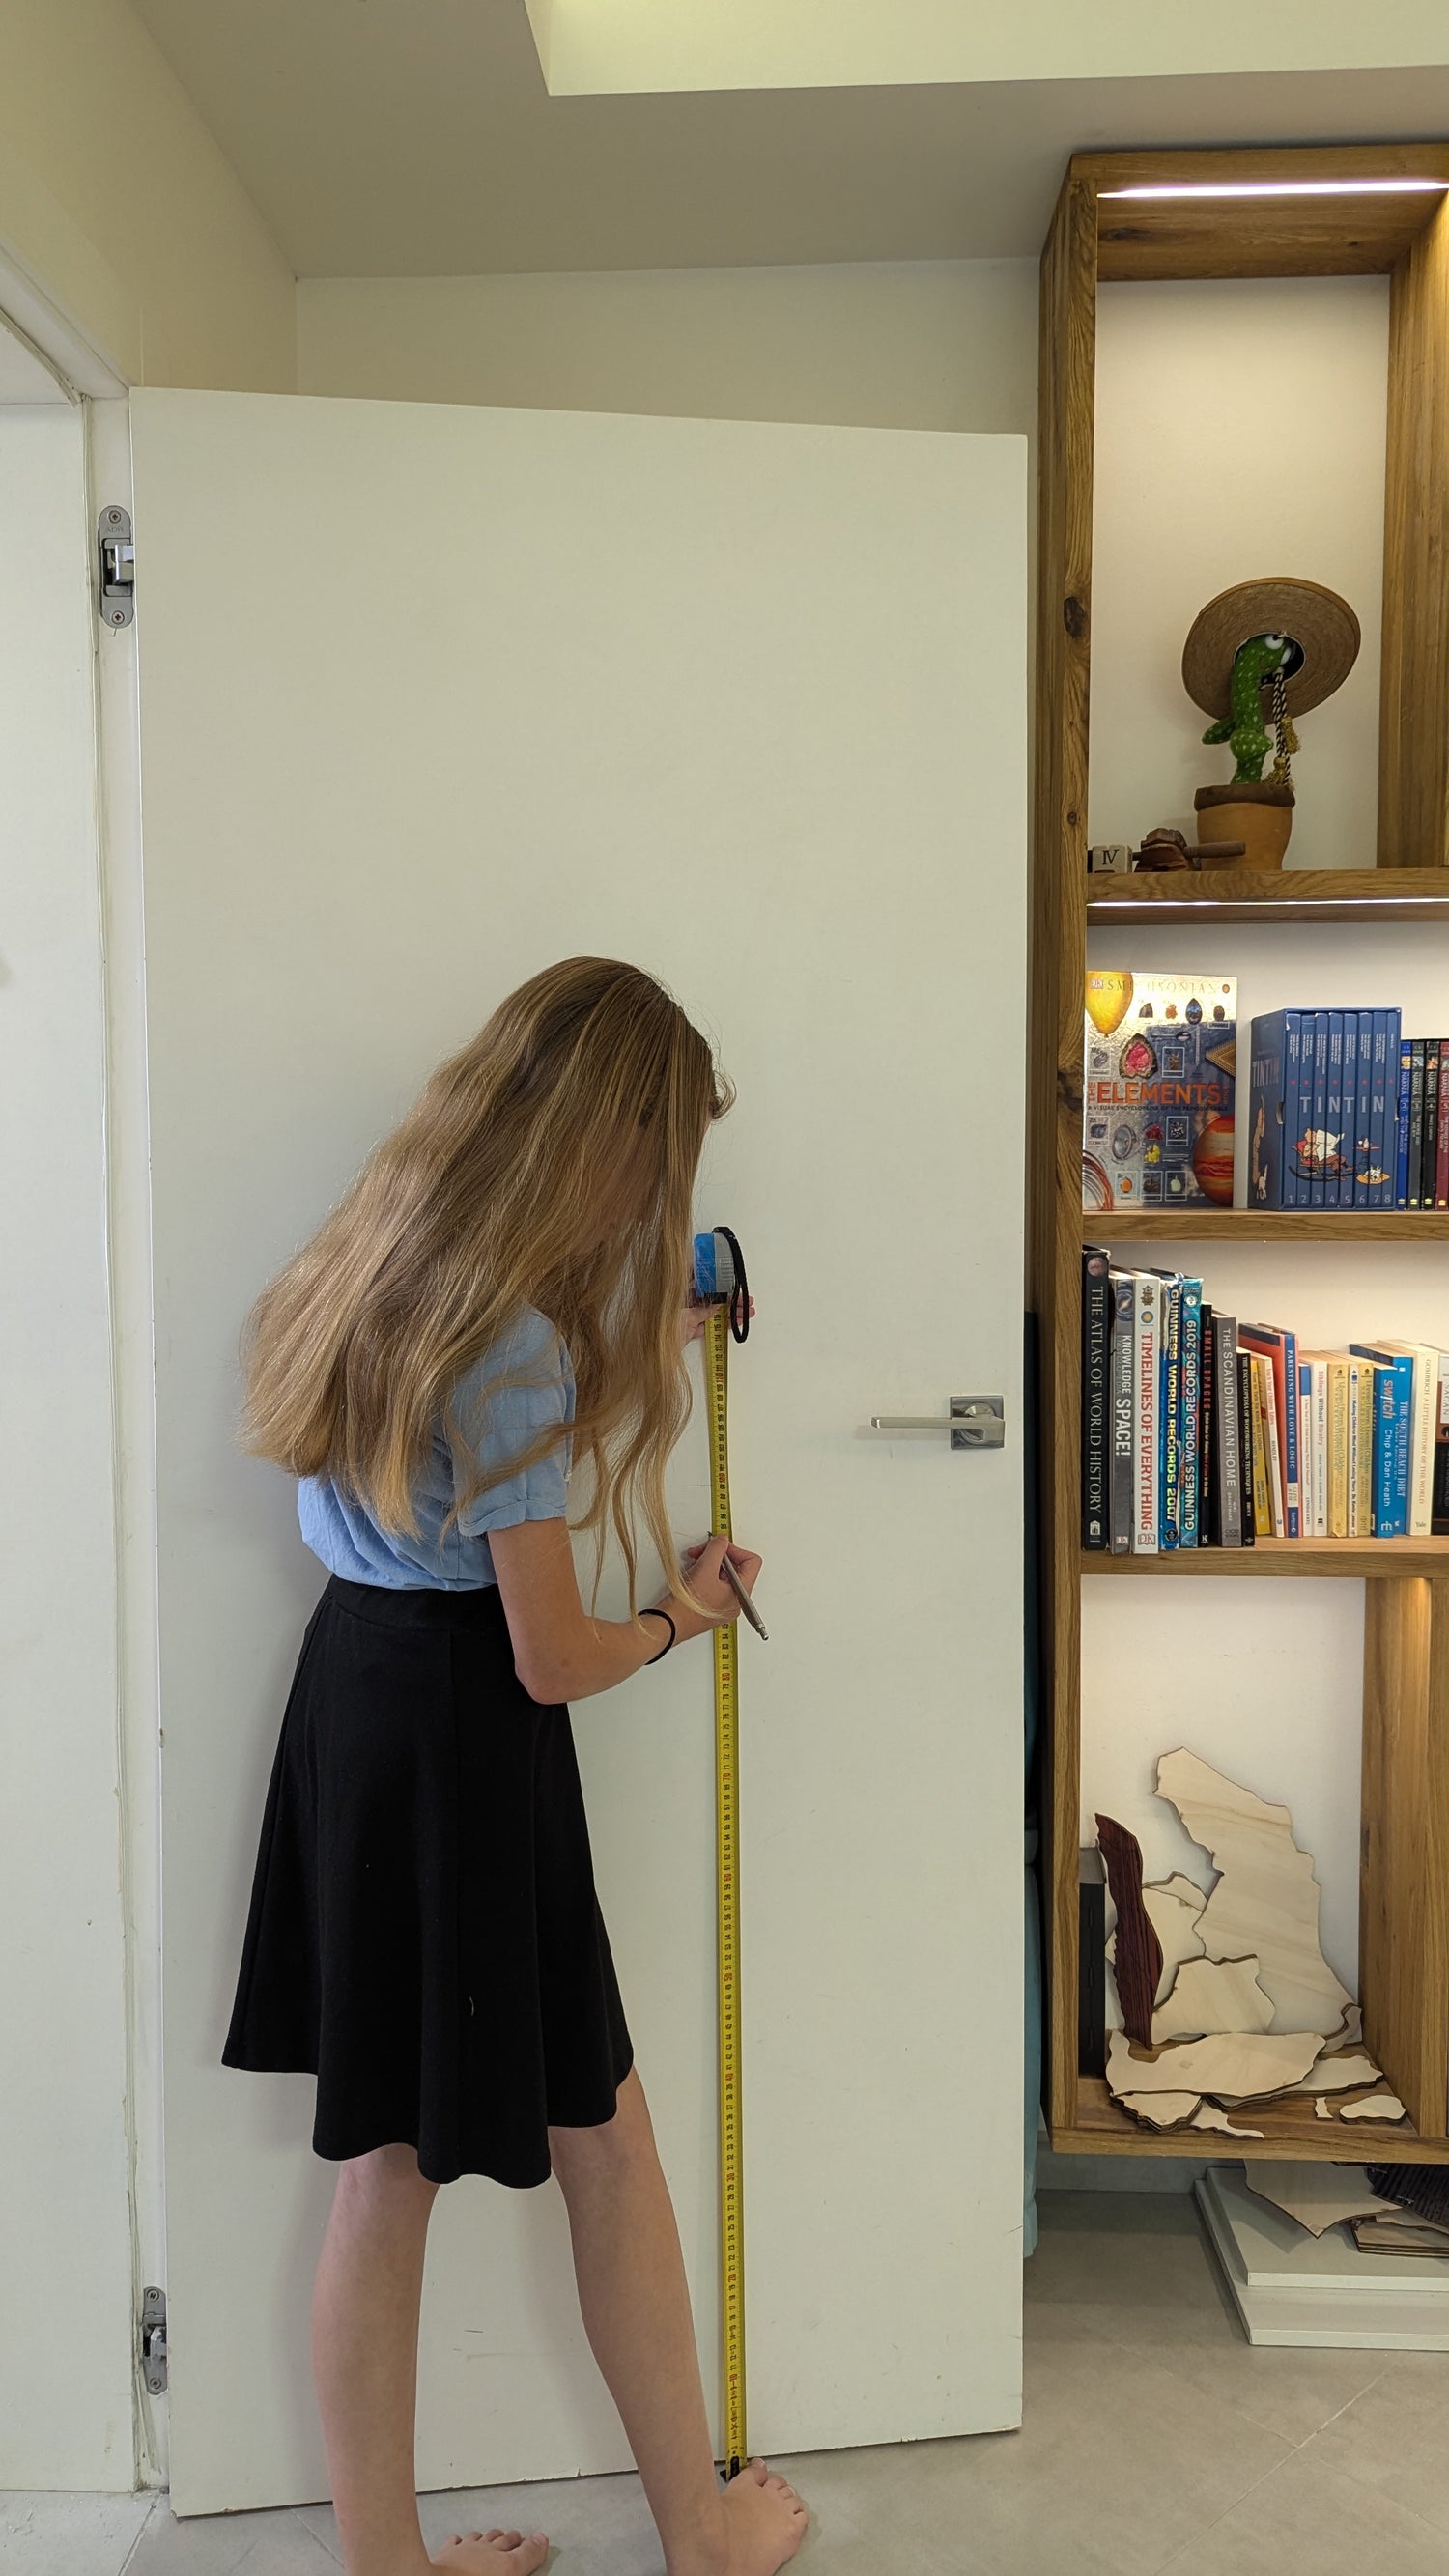
For example, if you want to have the map 12" (30cm) off the floor, just add that to the dimensions on the piece and using a tape measure, draw a reference line on your surface at that height (measure two points and draw a line through them).
Measuring
Here we are measuring our second point (at the same height as the first).
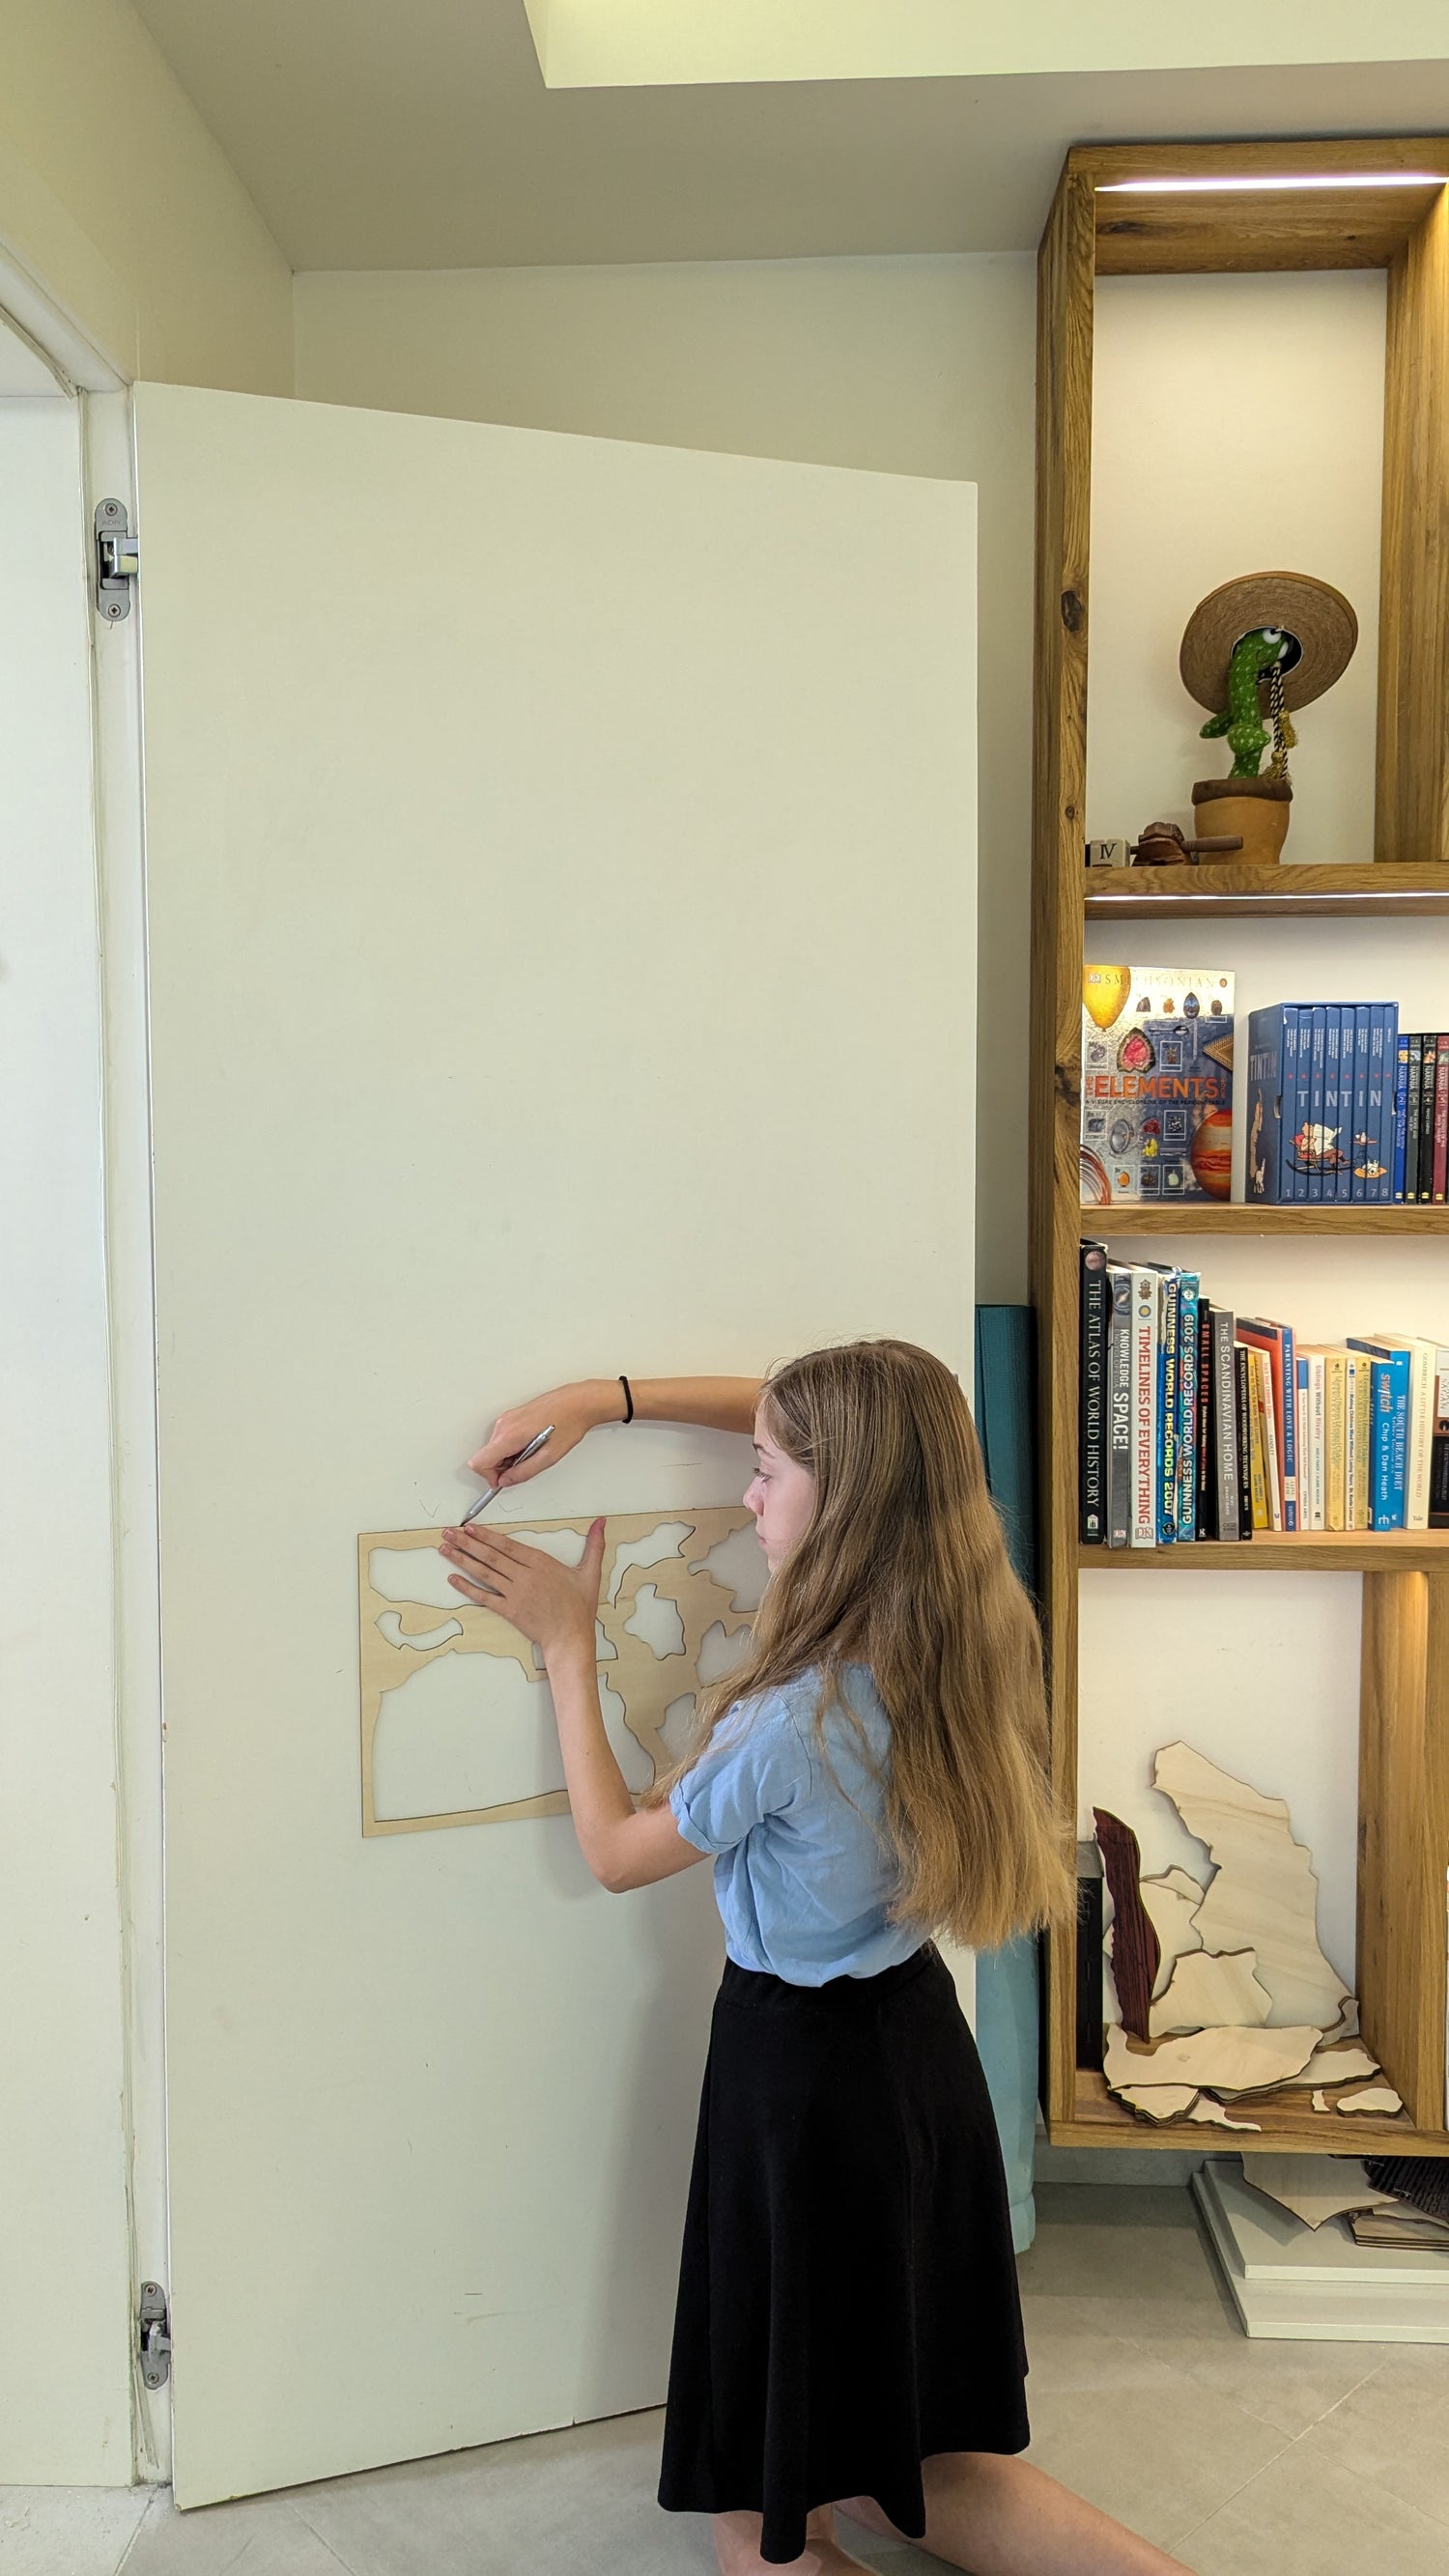
Drawing the line
Here we draw the reference line. The keystone piece will line up on this line.
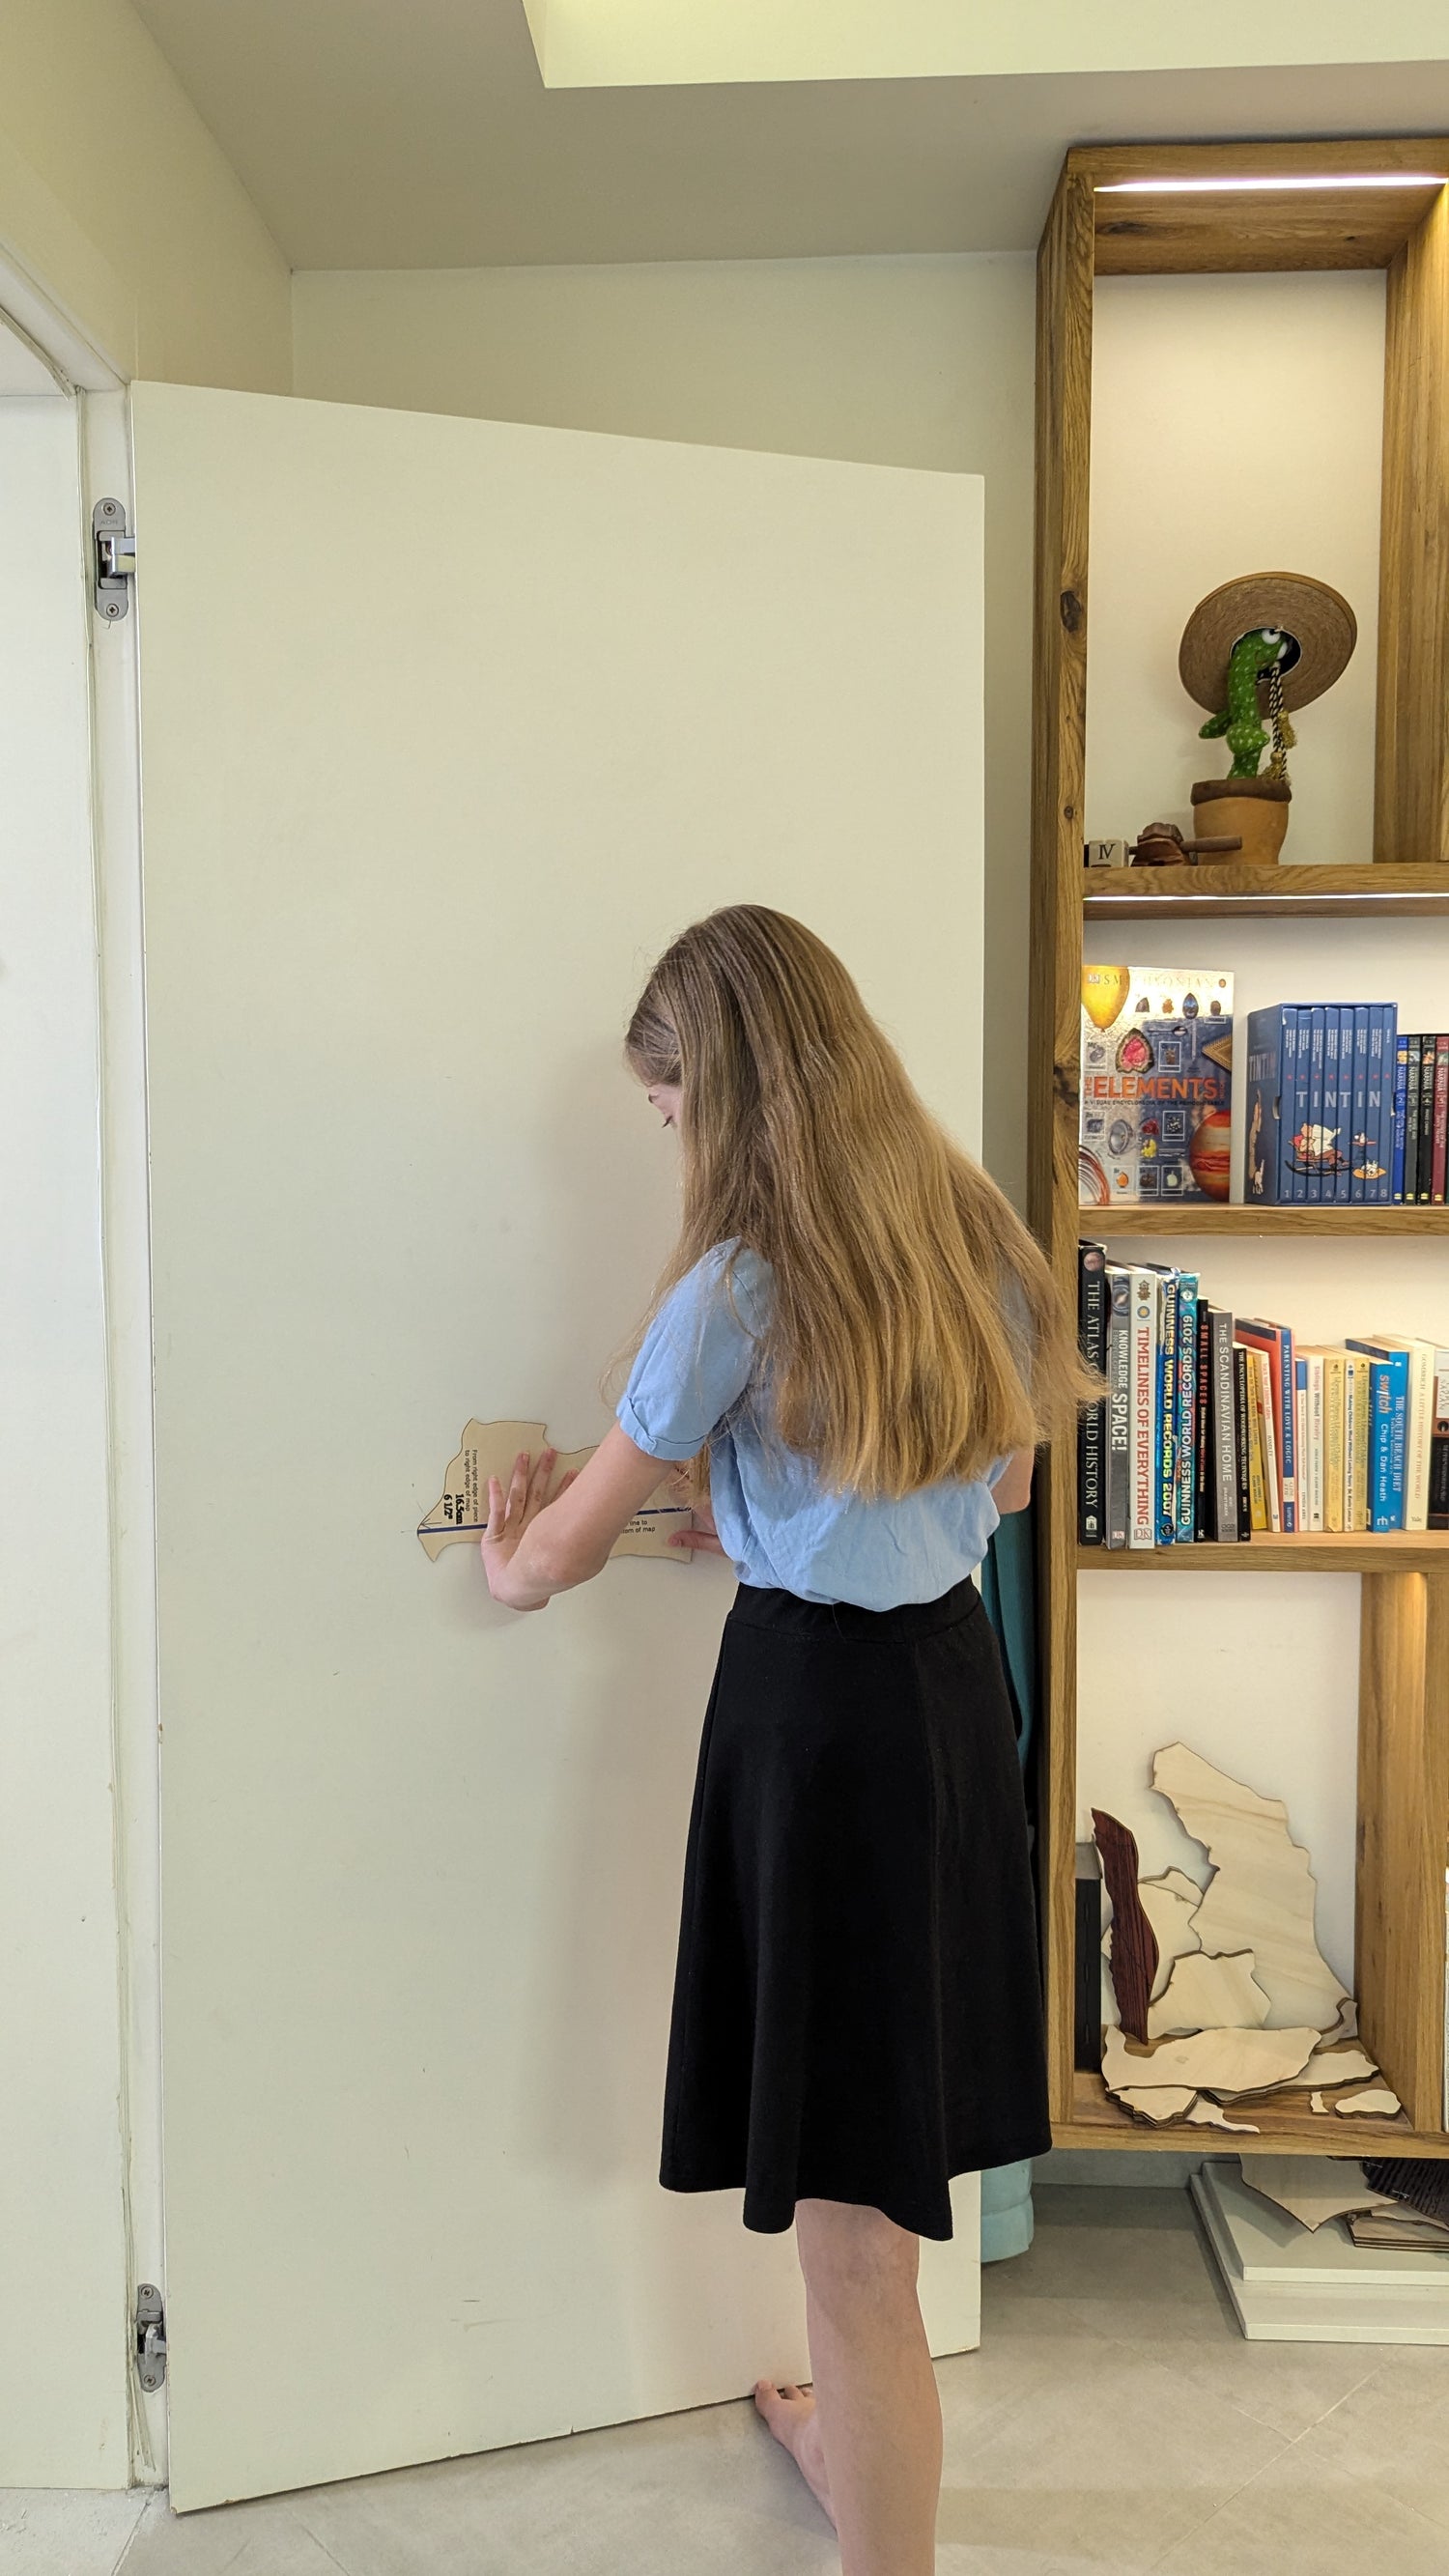
Mounting the first piece
When you mount the piece, you will stick it to the wall so that the line on the piece overlaps your line perfectly.
If you want the left edge of the map to be 4" (10cm) from the edge of an abutting space, add that to the measurement on the piece and now measure that distance on the wall and draw a small vertical line that crosses your first line. This will be where the left edge of the piece should locate.
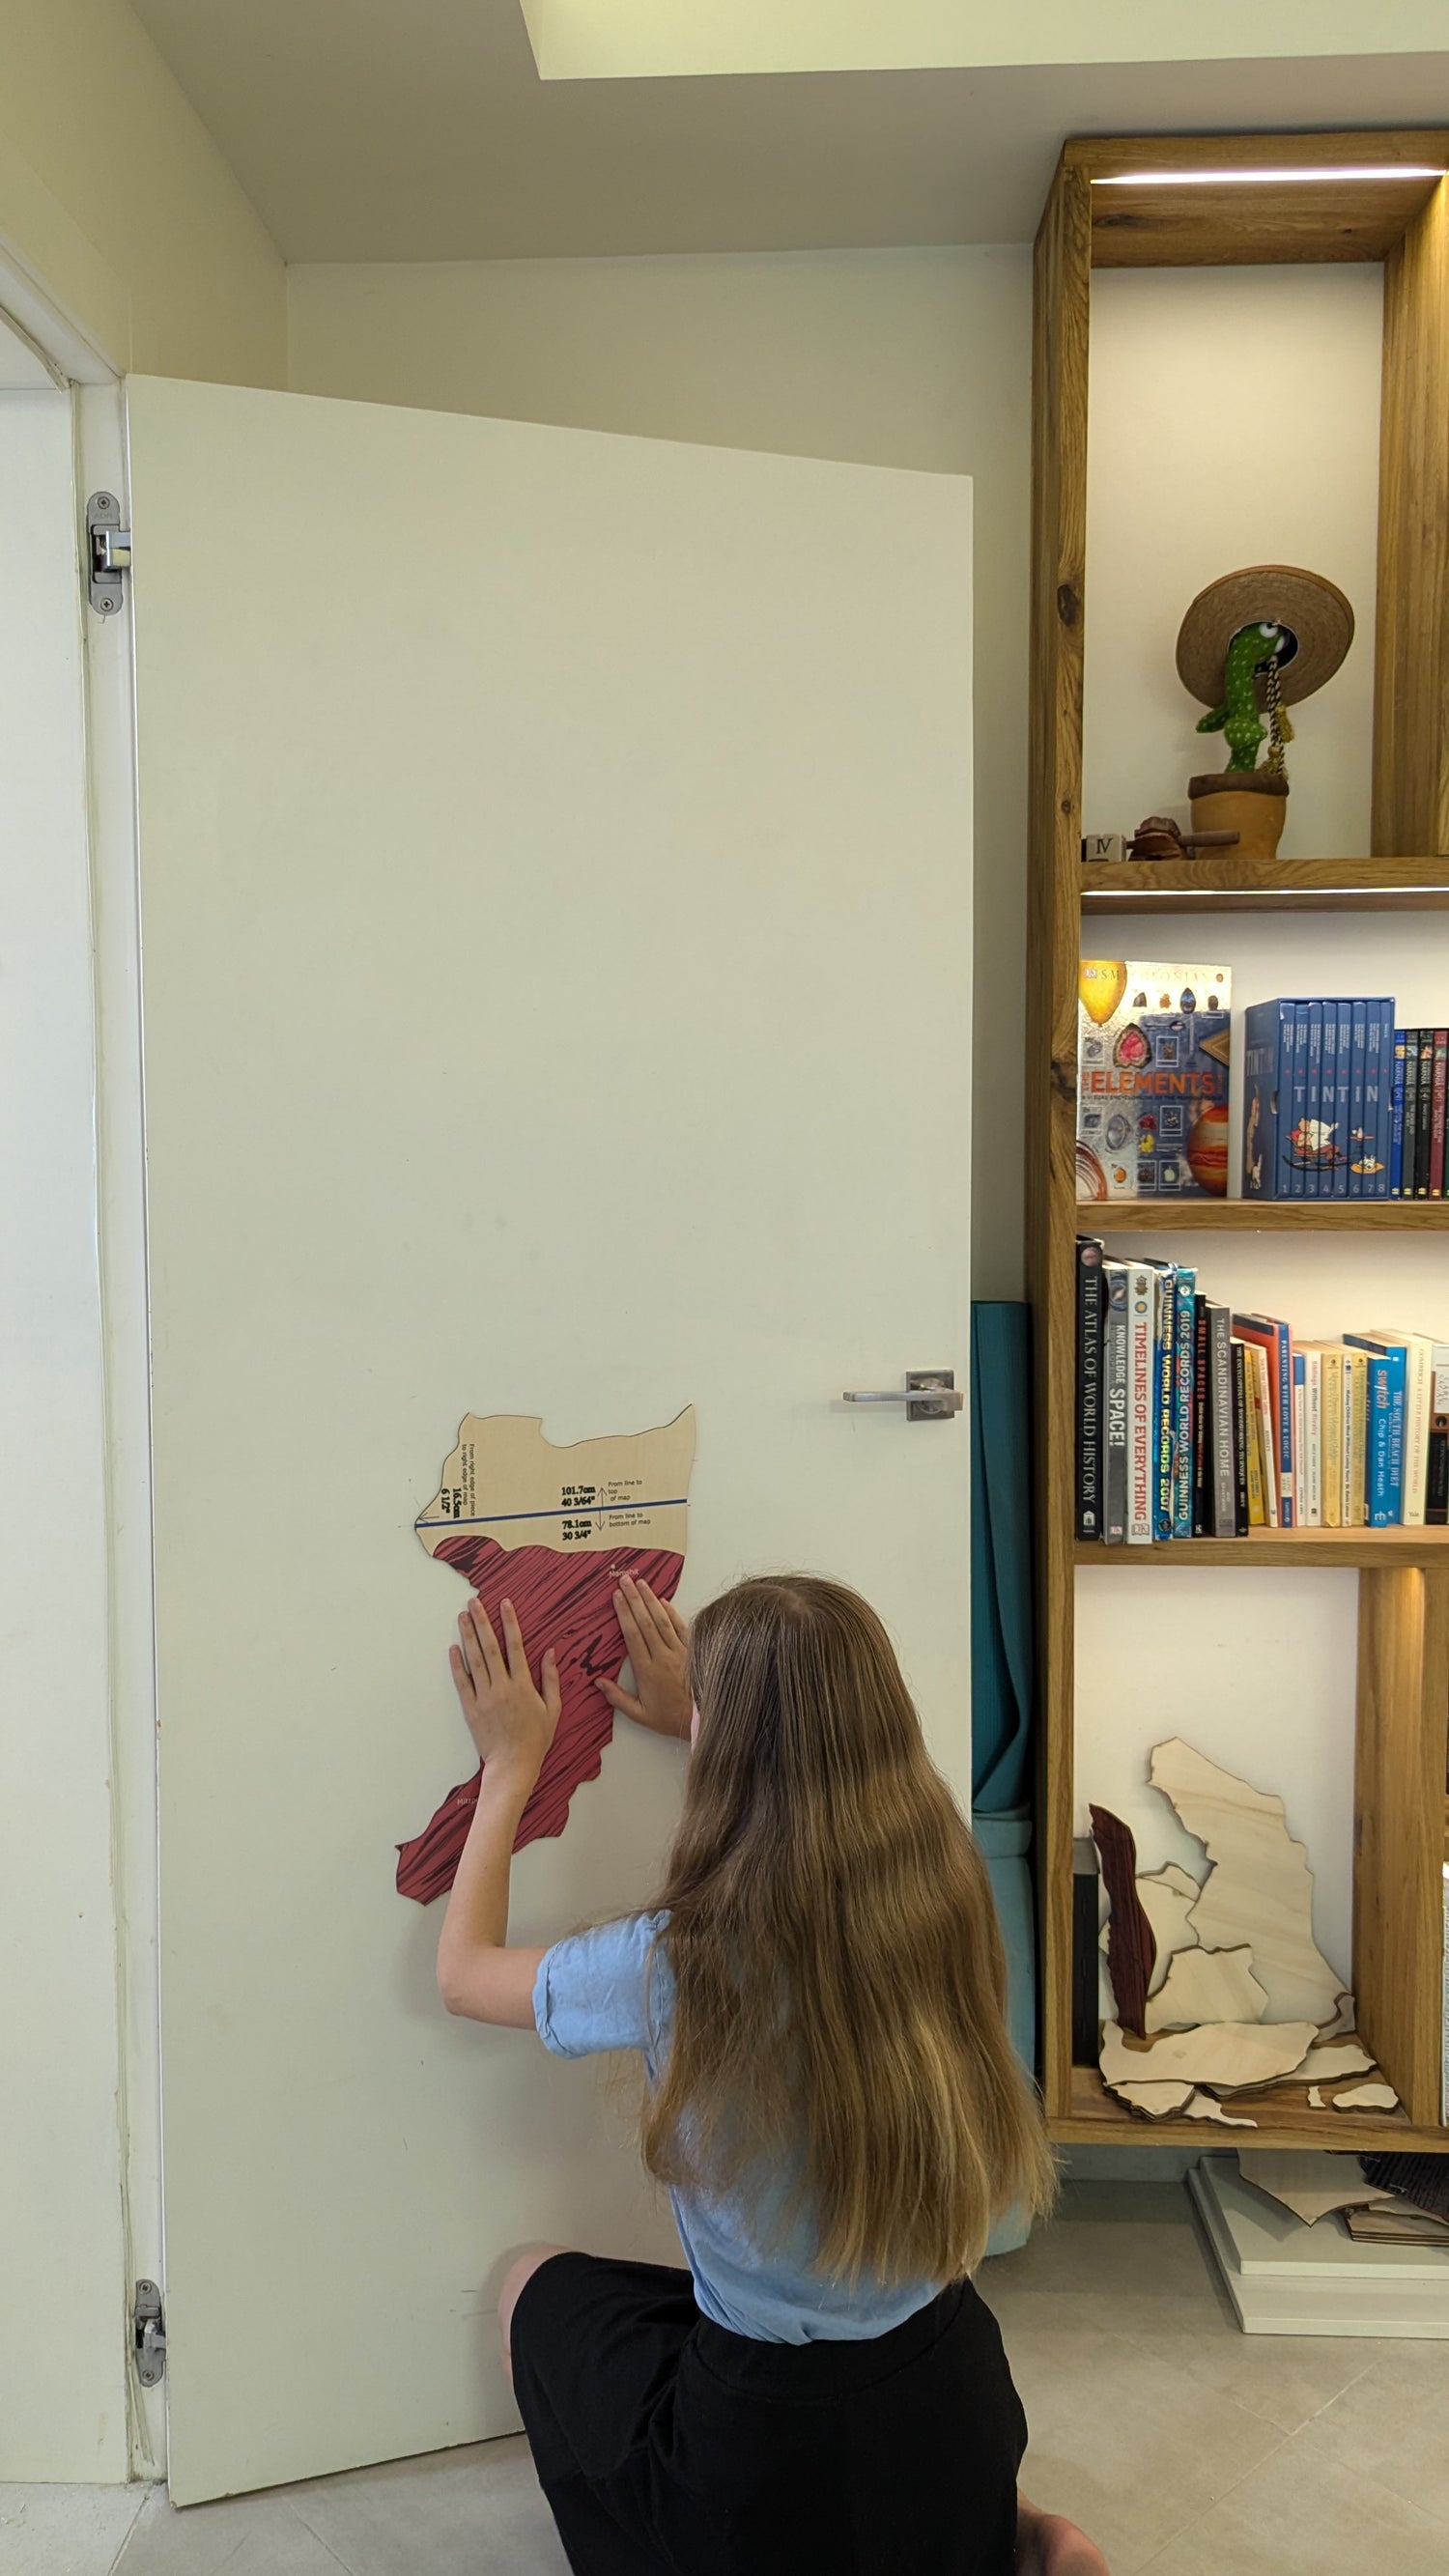
And now the rest is just fun!
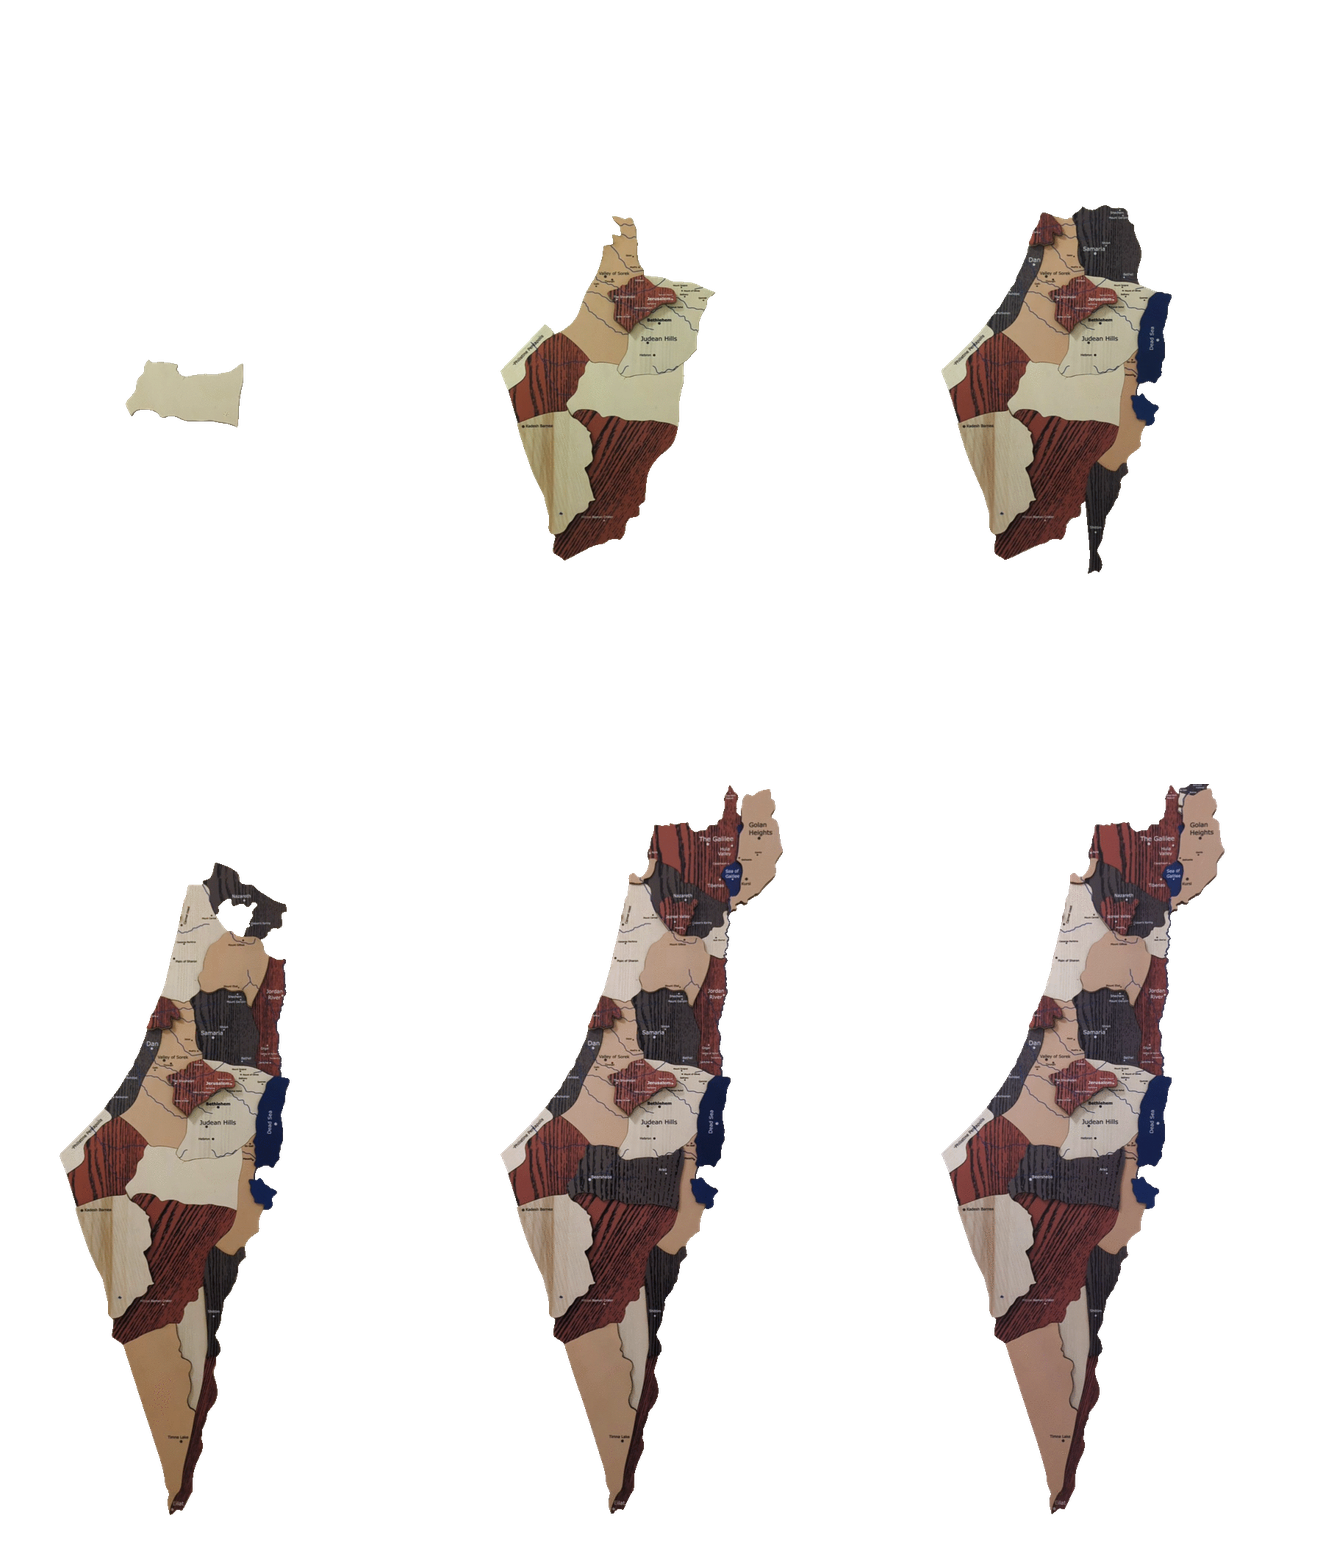
Use the picture on this site showing the complete map, and find the piece that fits closest to your keystone. And add it to your surface.
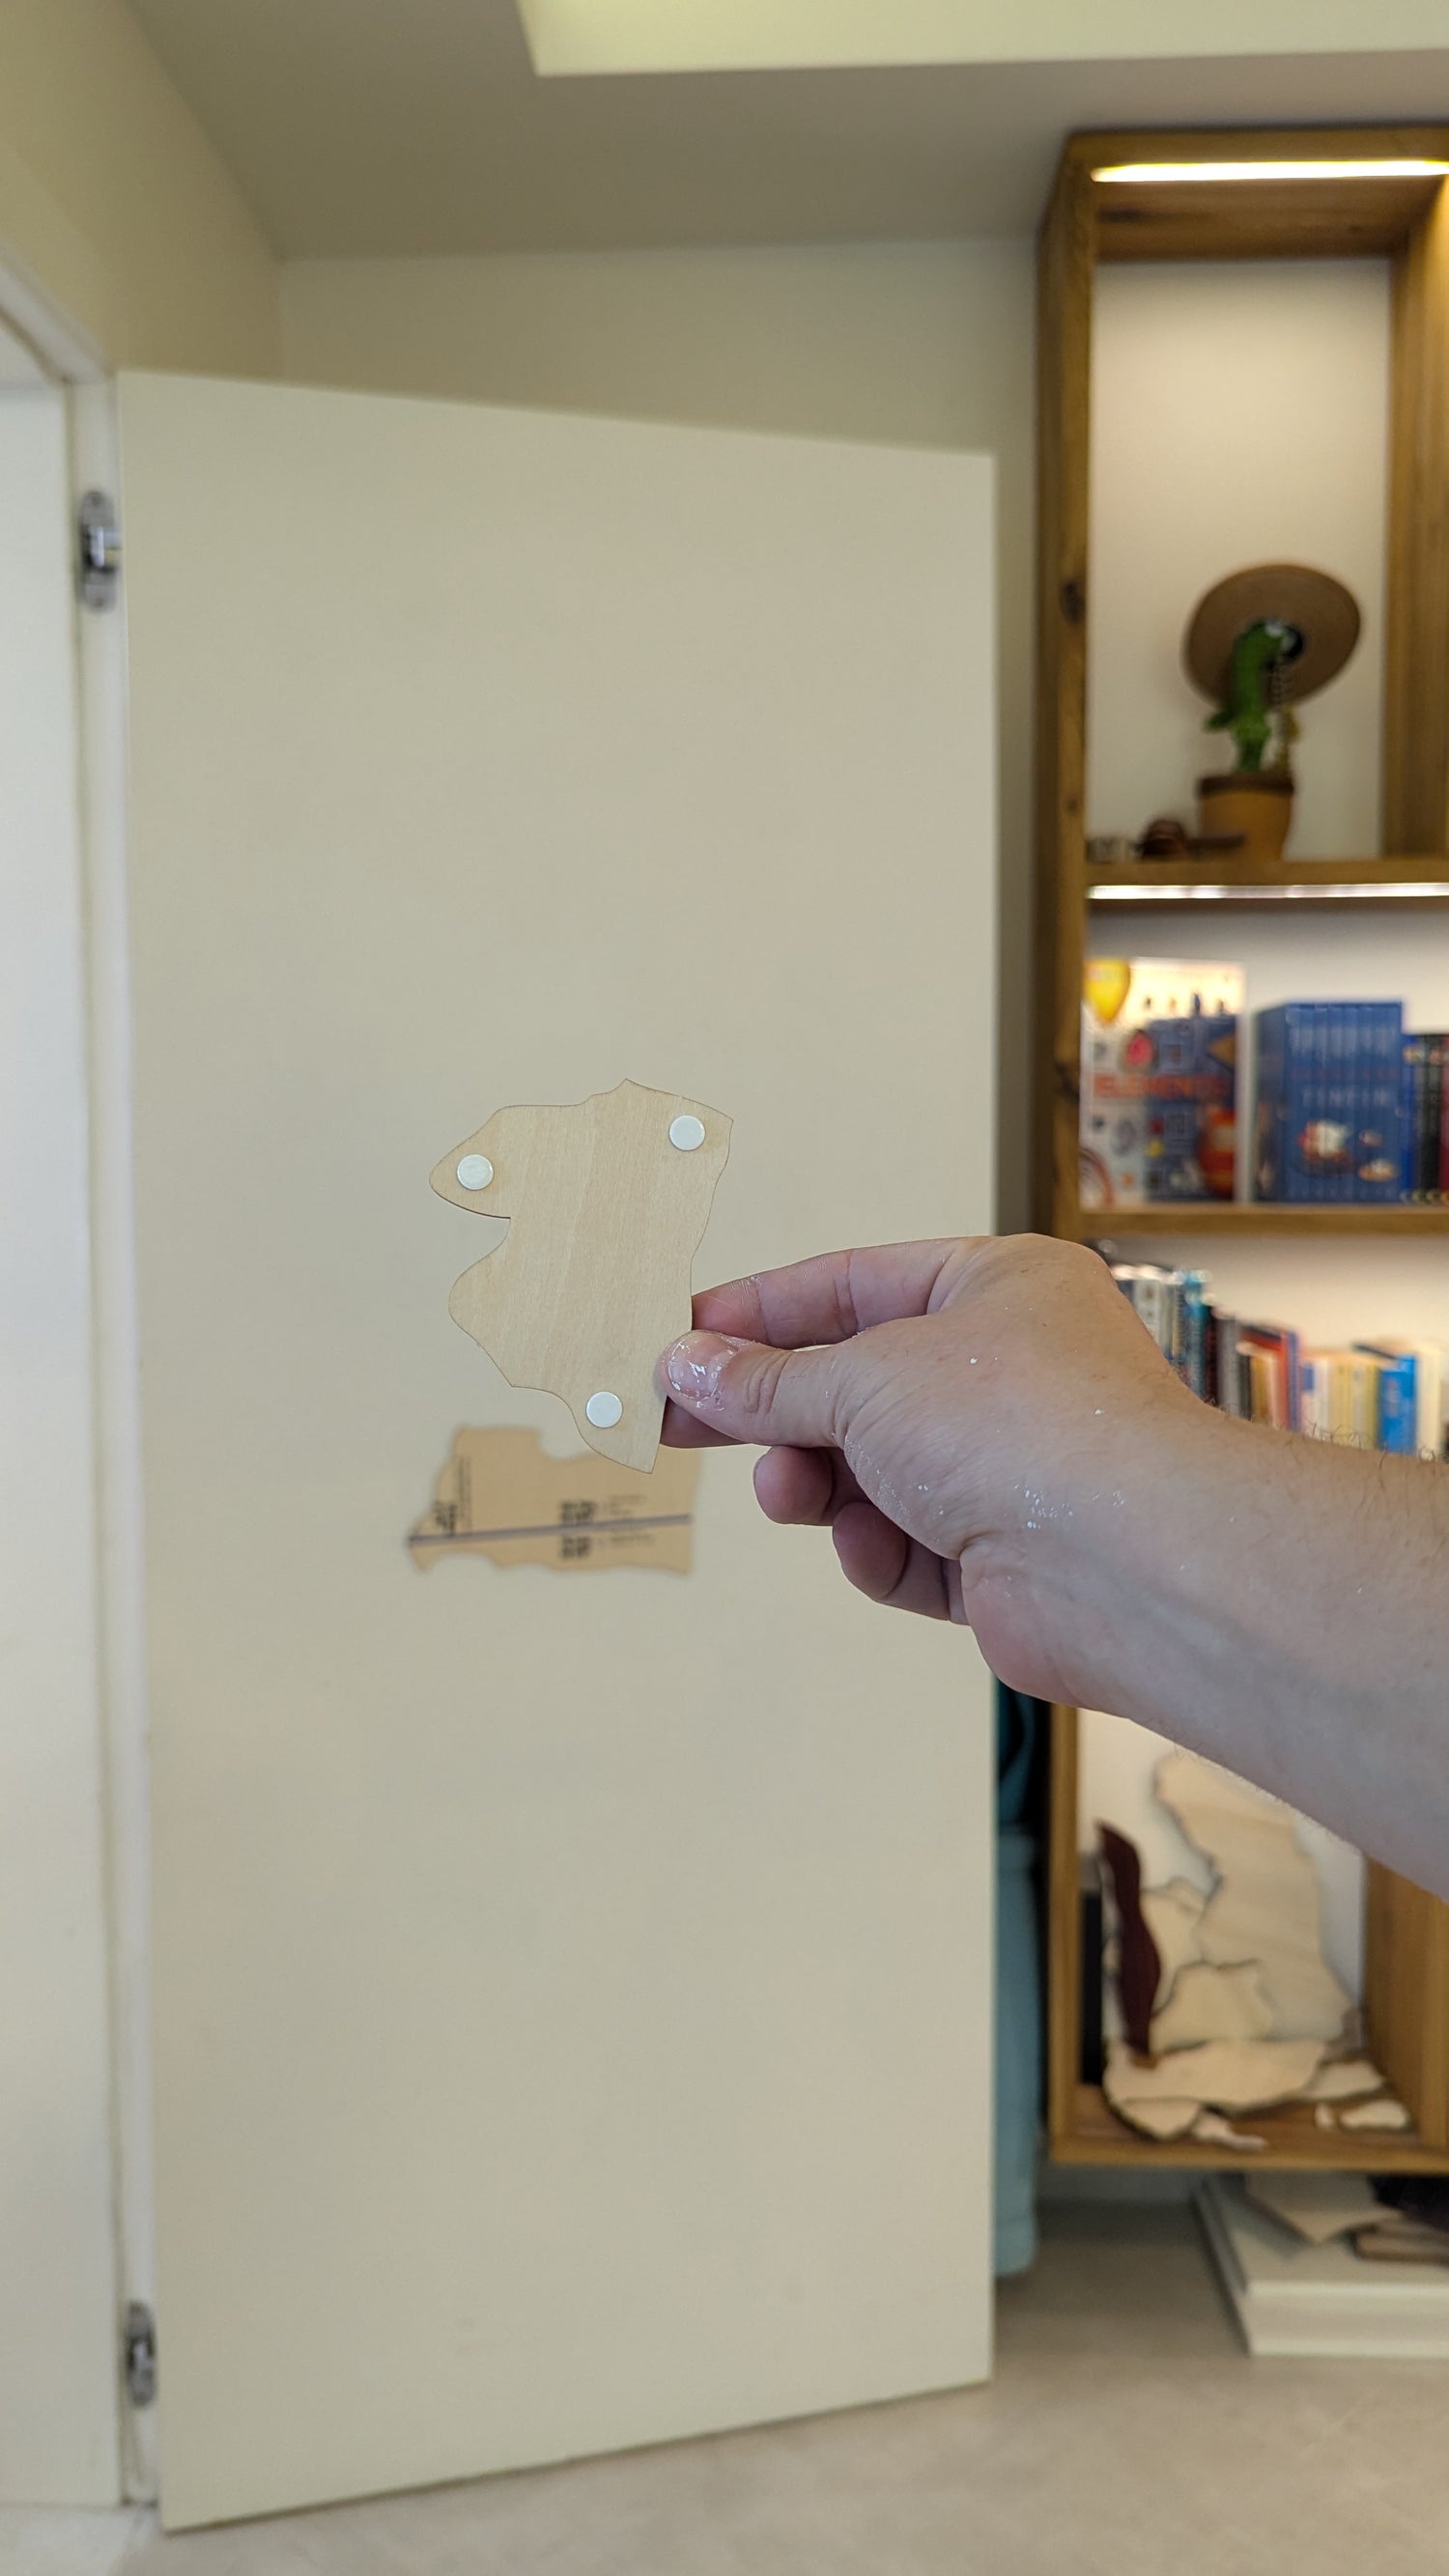
How to affix
Use the double sided dots. Small pieces can get by with just 3
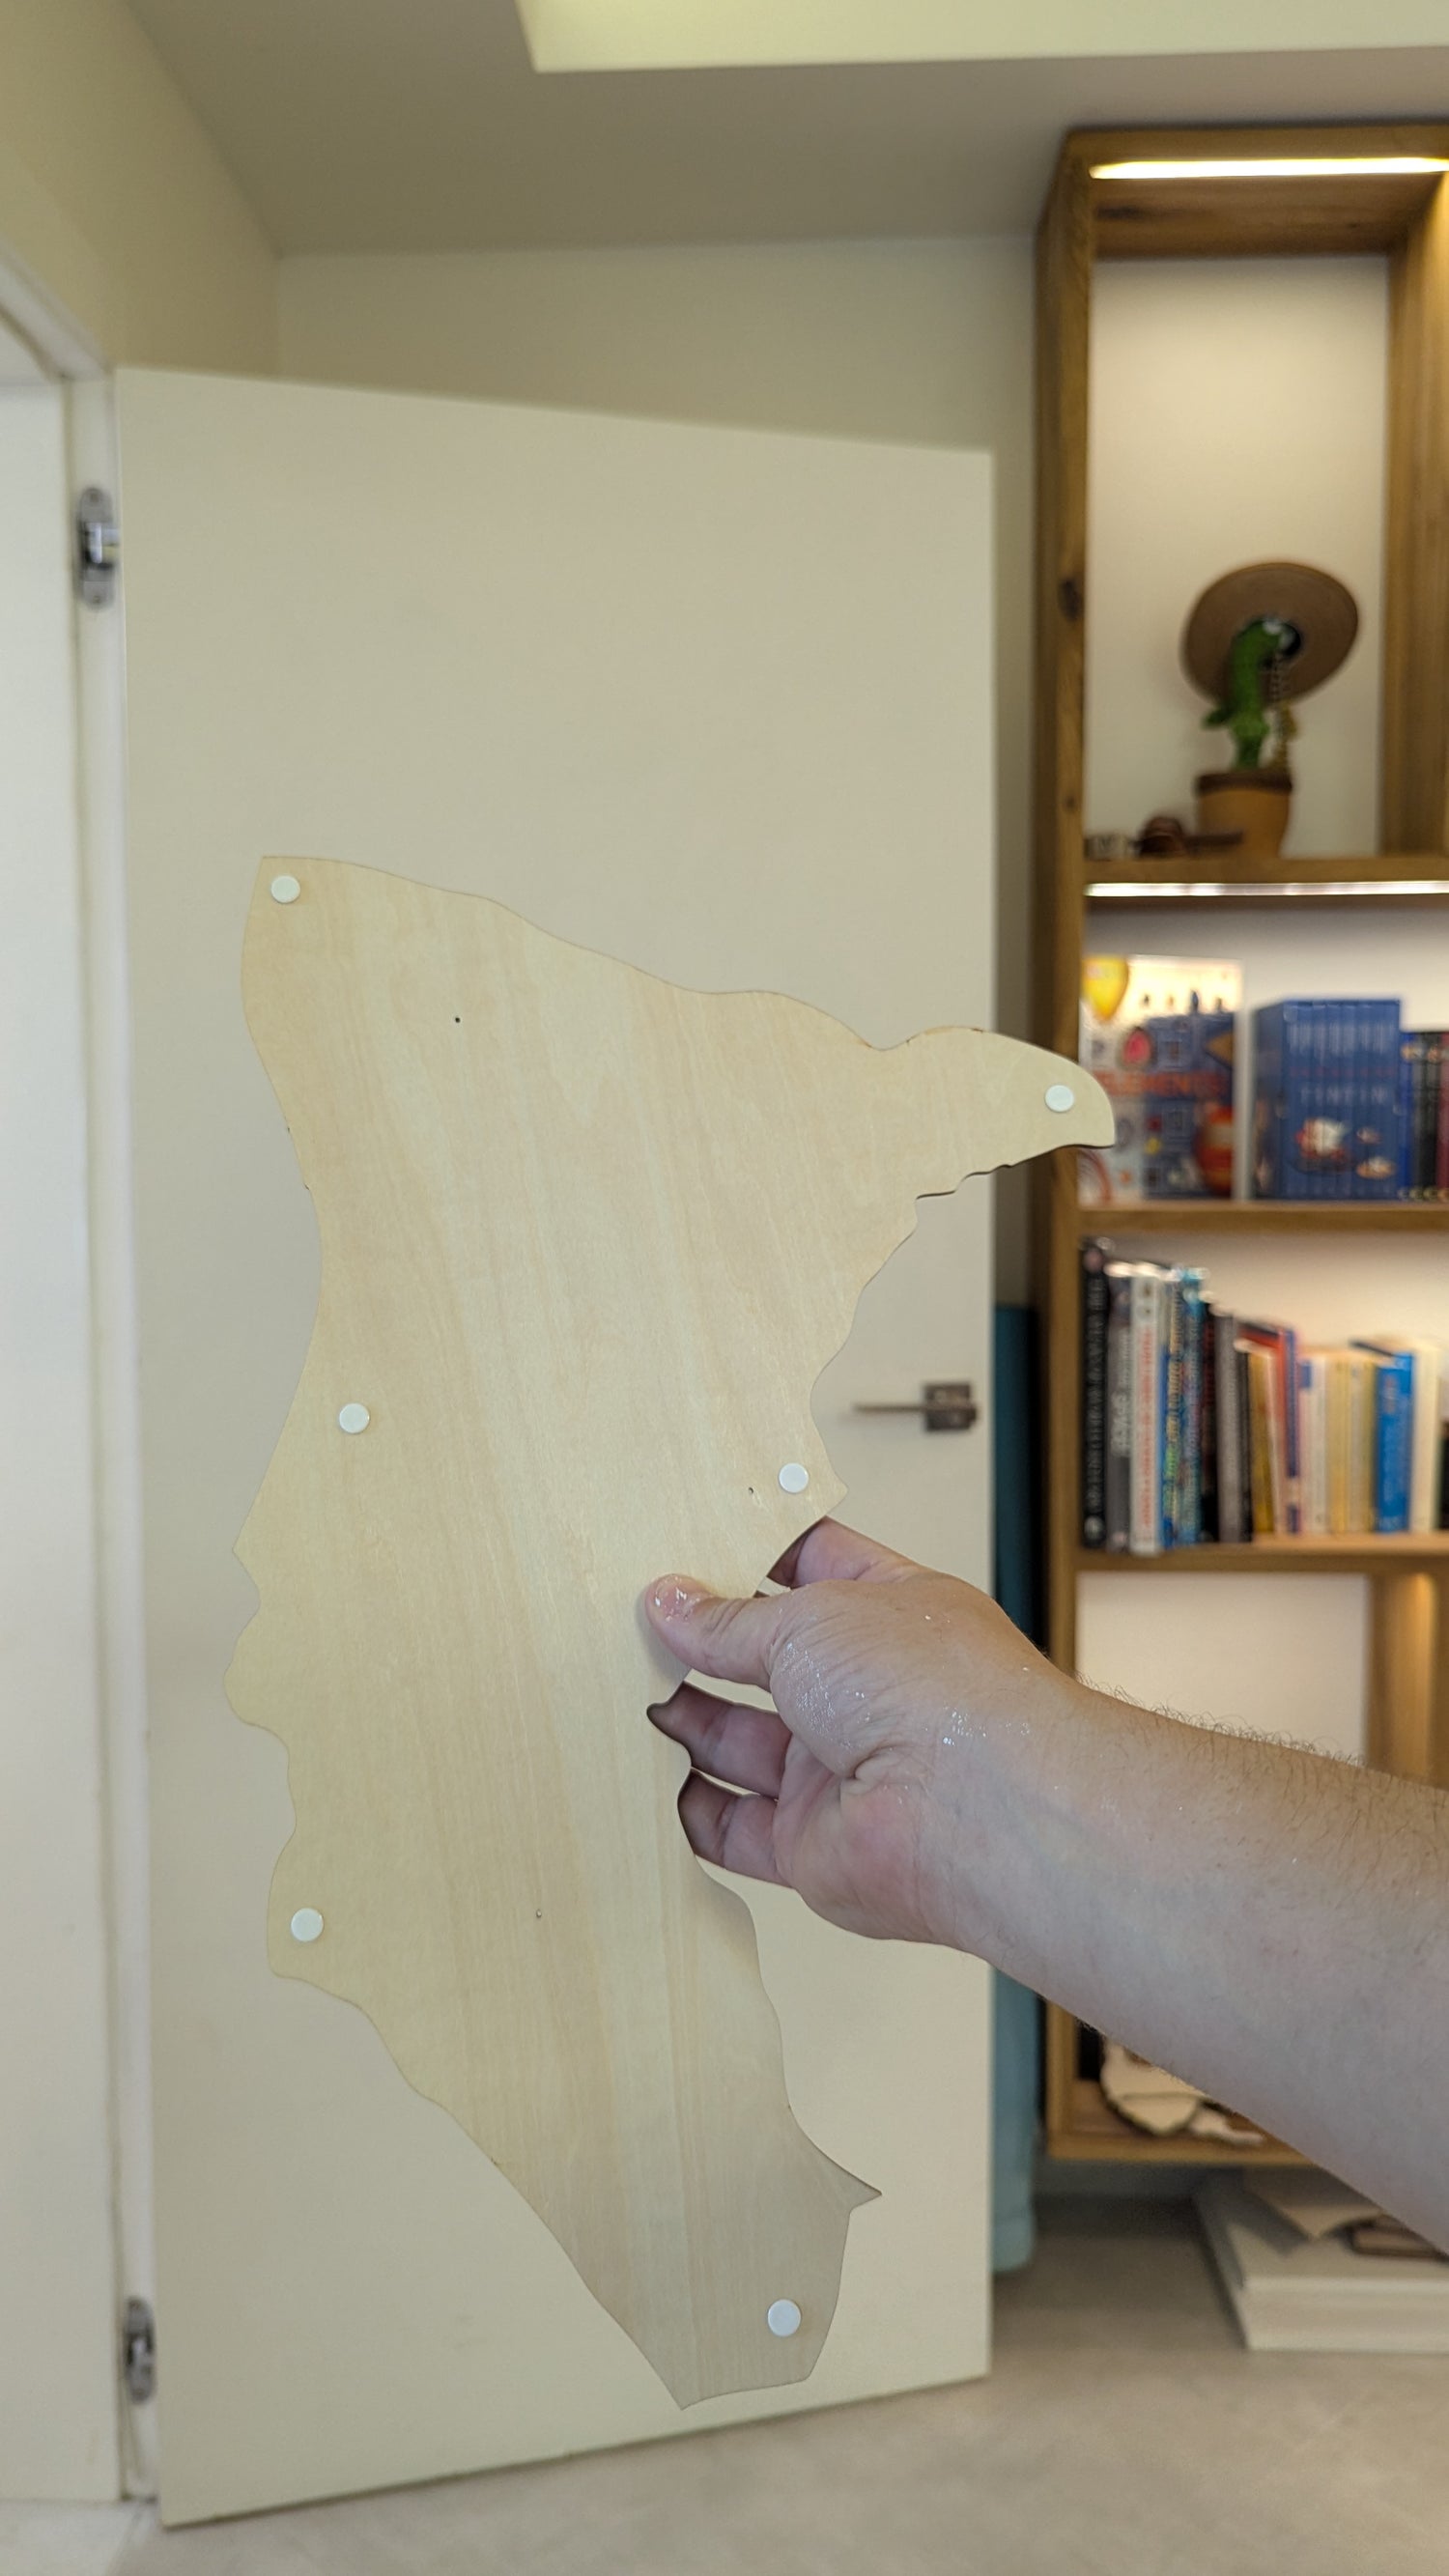
And bigger pieces could get 4. The very largest are good with 5 or 6 (or more for the very biggest - you shouldn't need it but we were generous with the dots).
Just keep sticking. Just keep sticking
Just keep an eye on my website and find abutting pieces and stick, stick, stick. If things are off a tiny bit, you have wriggle room as the double sided tape has a little give. No need to press super hard, it will be plenty strong. The map will grow quickly. Do just the first layer (the rest can be added last). They should all fit together nicely. Make sure that for areas of the map with more than one layer, that the color pieces go on last!
See my daughter run through the next set of pieces one by one.
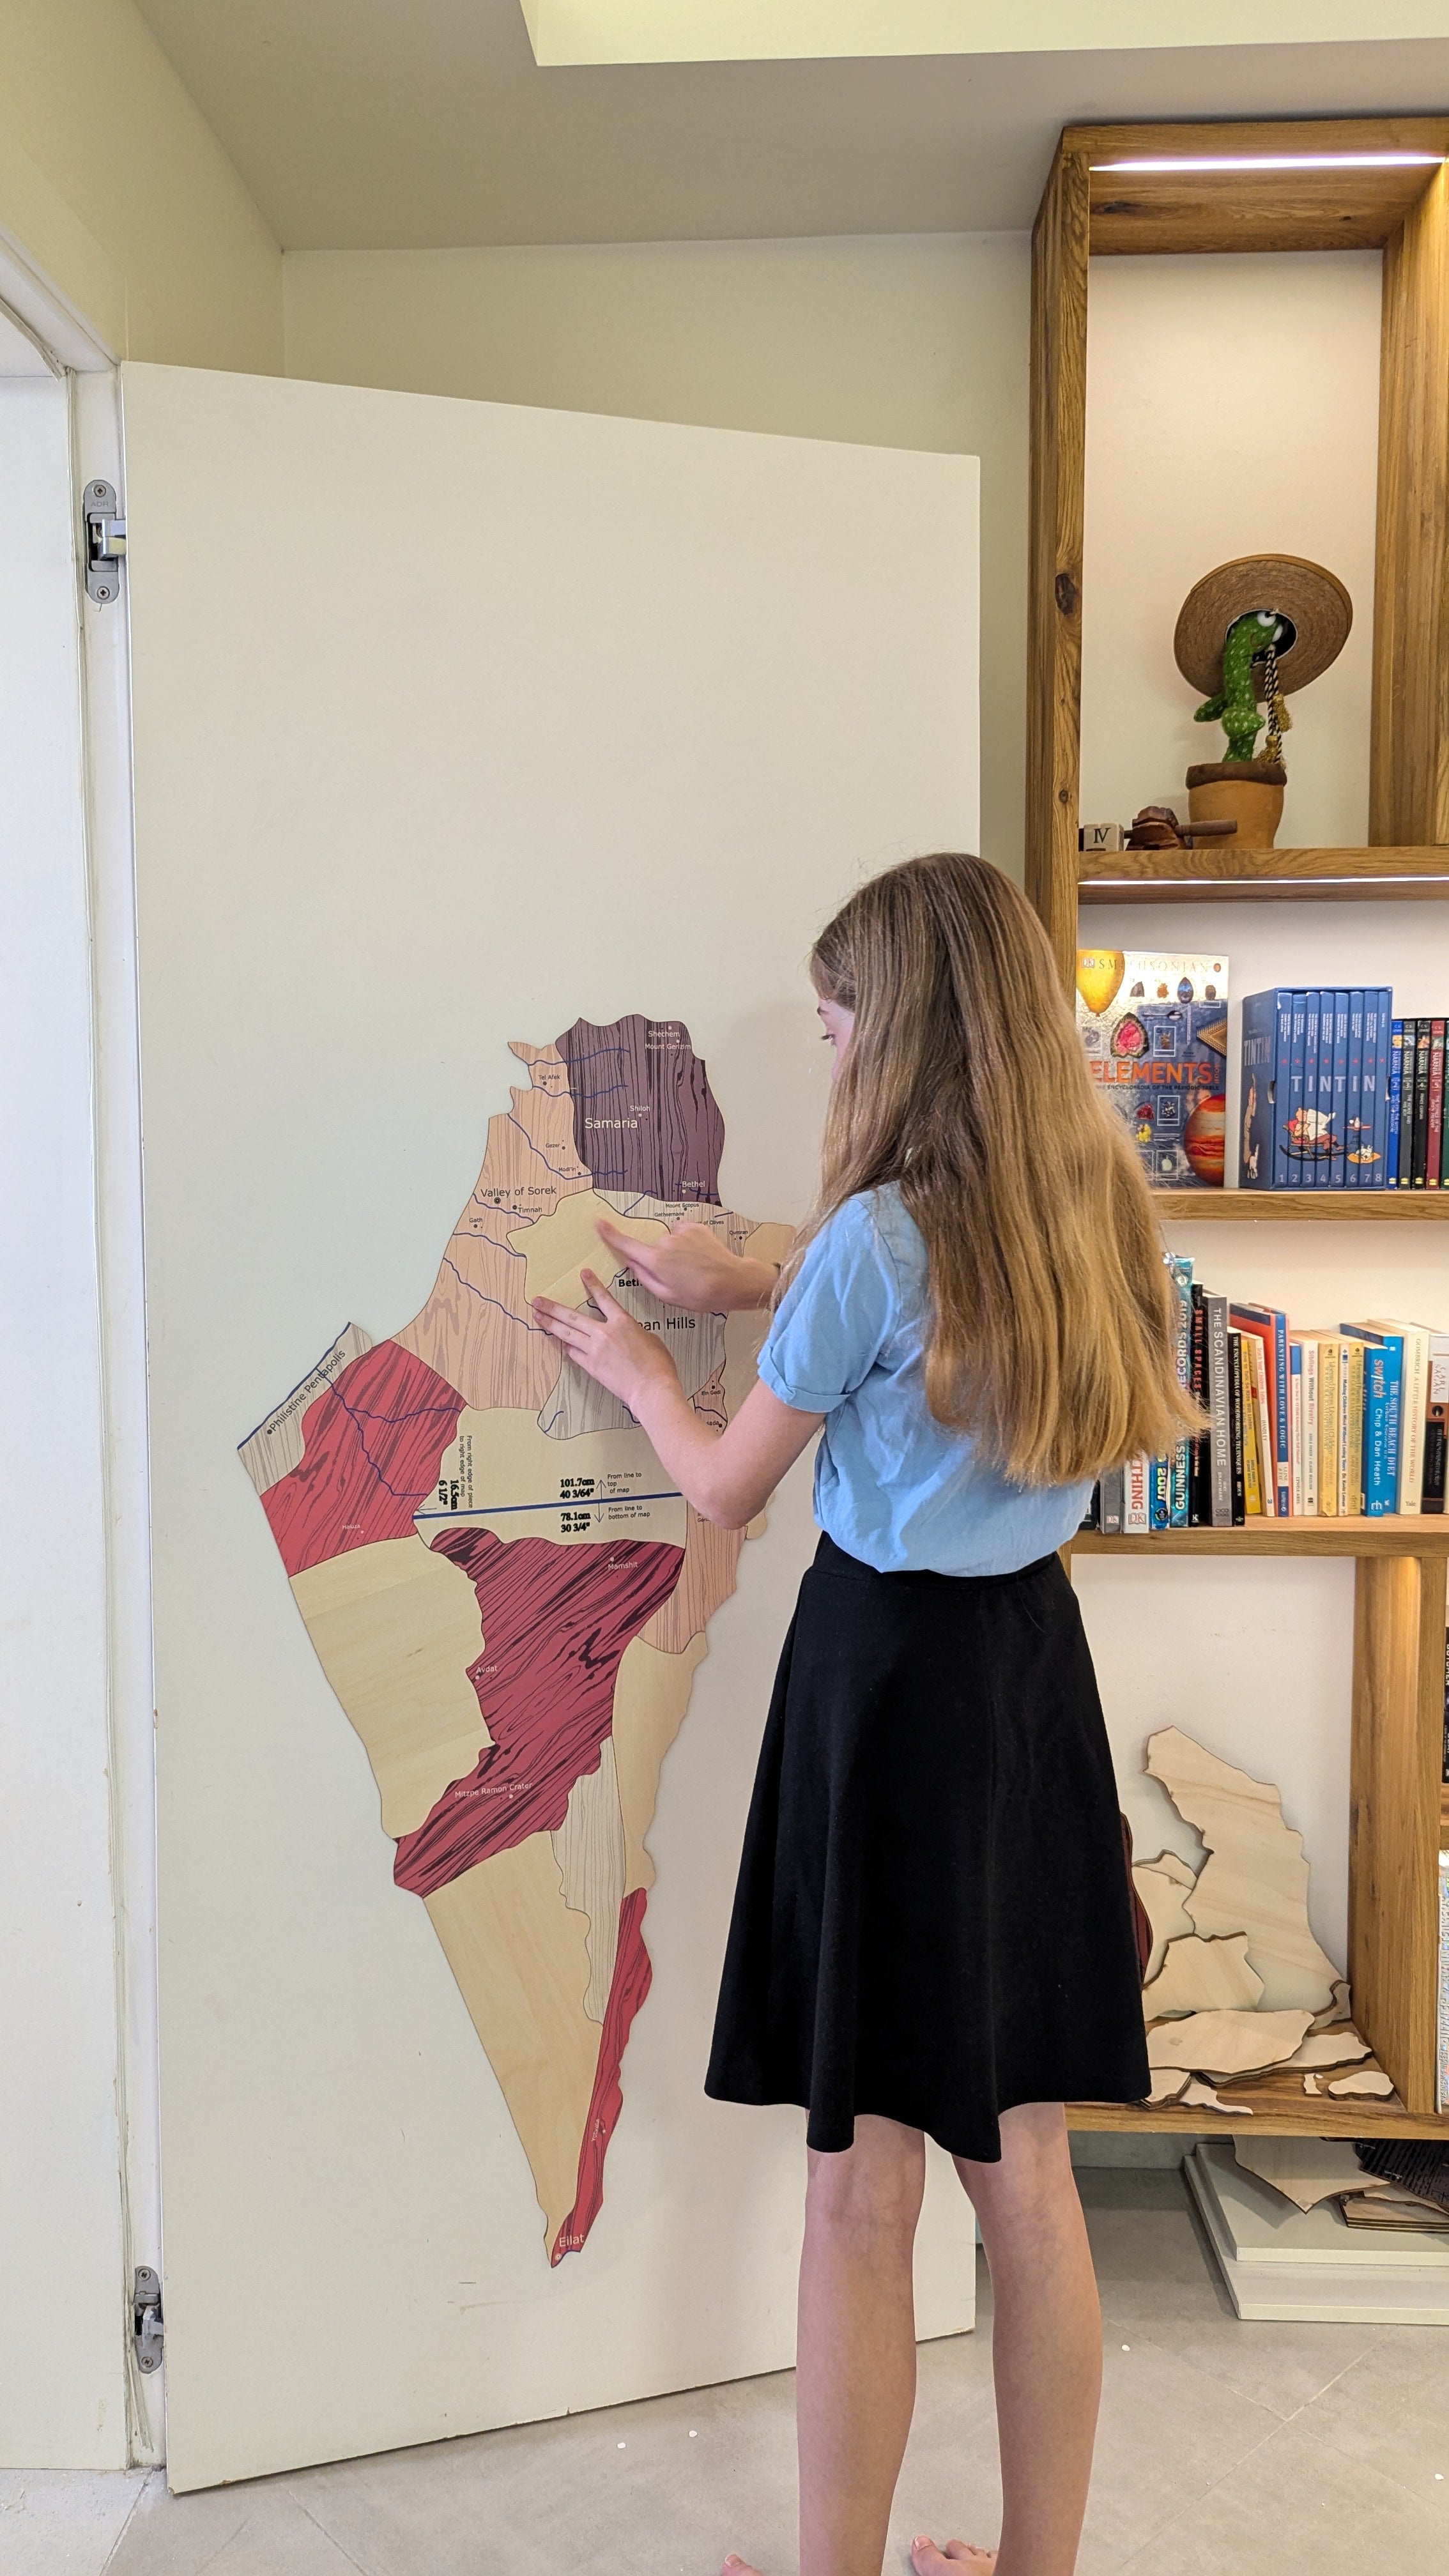
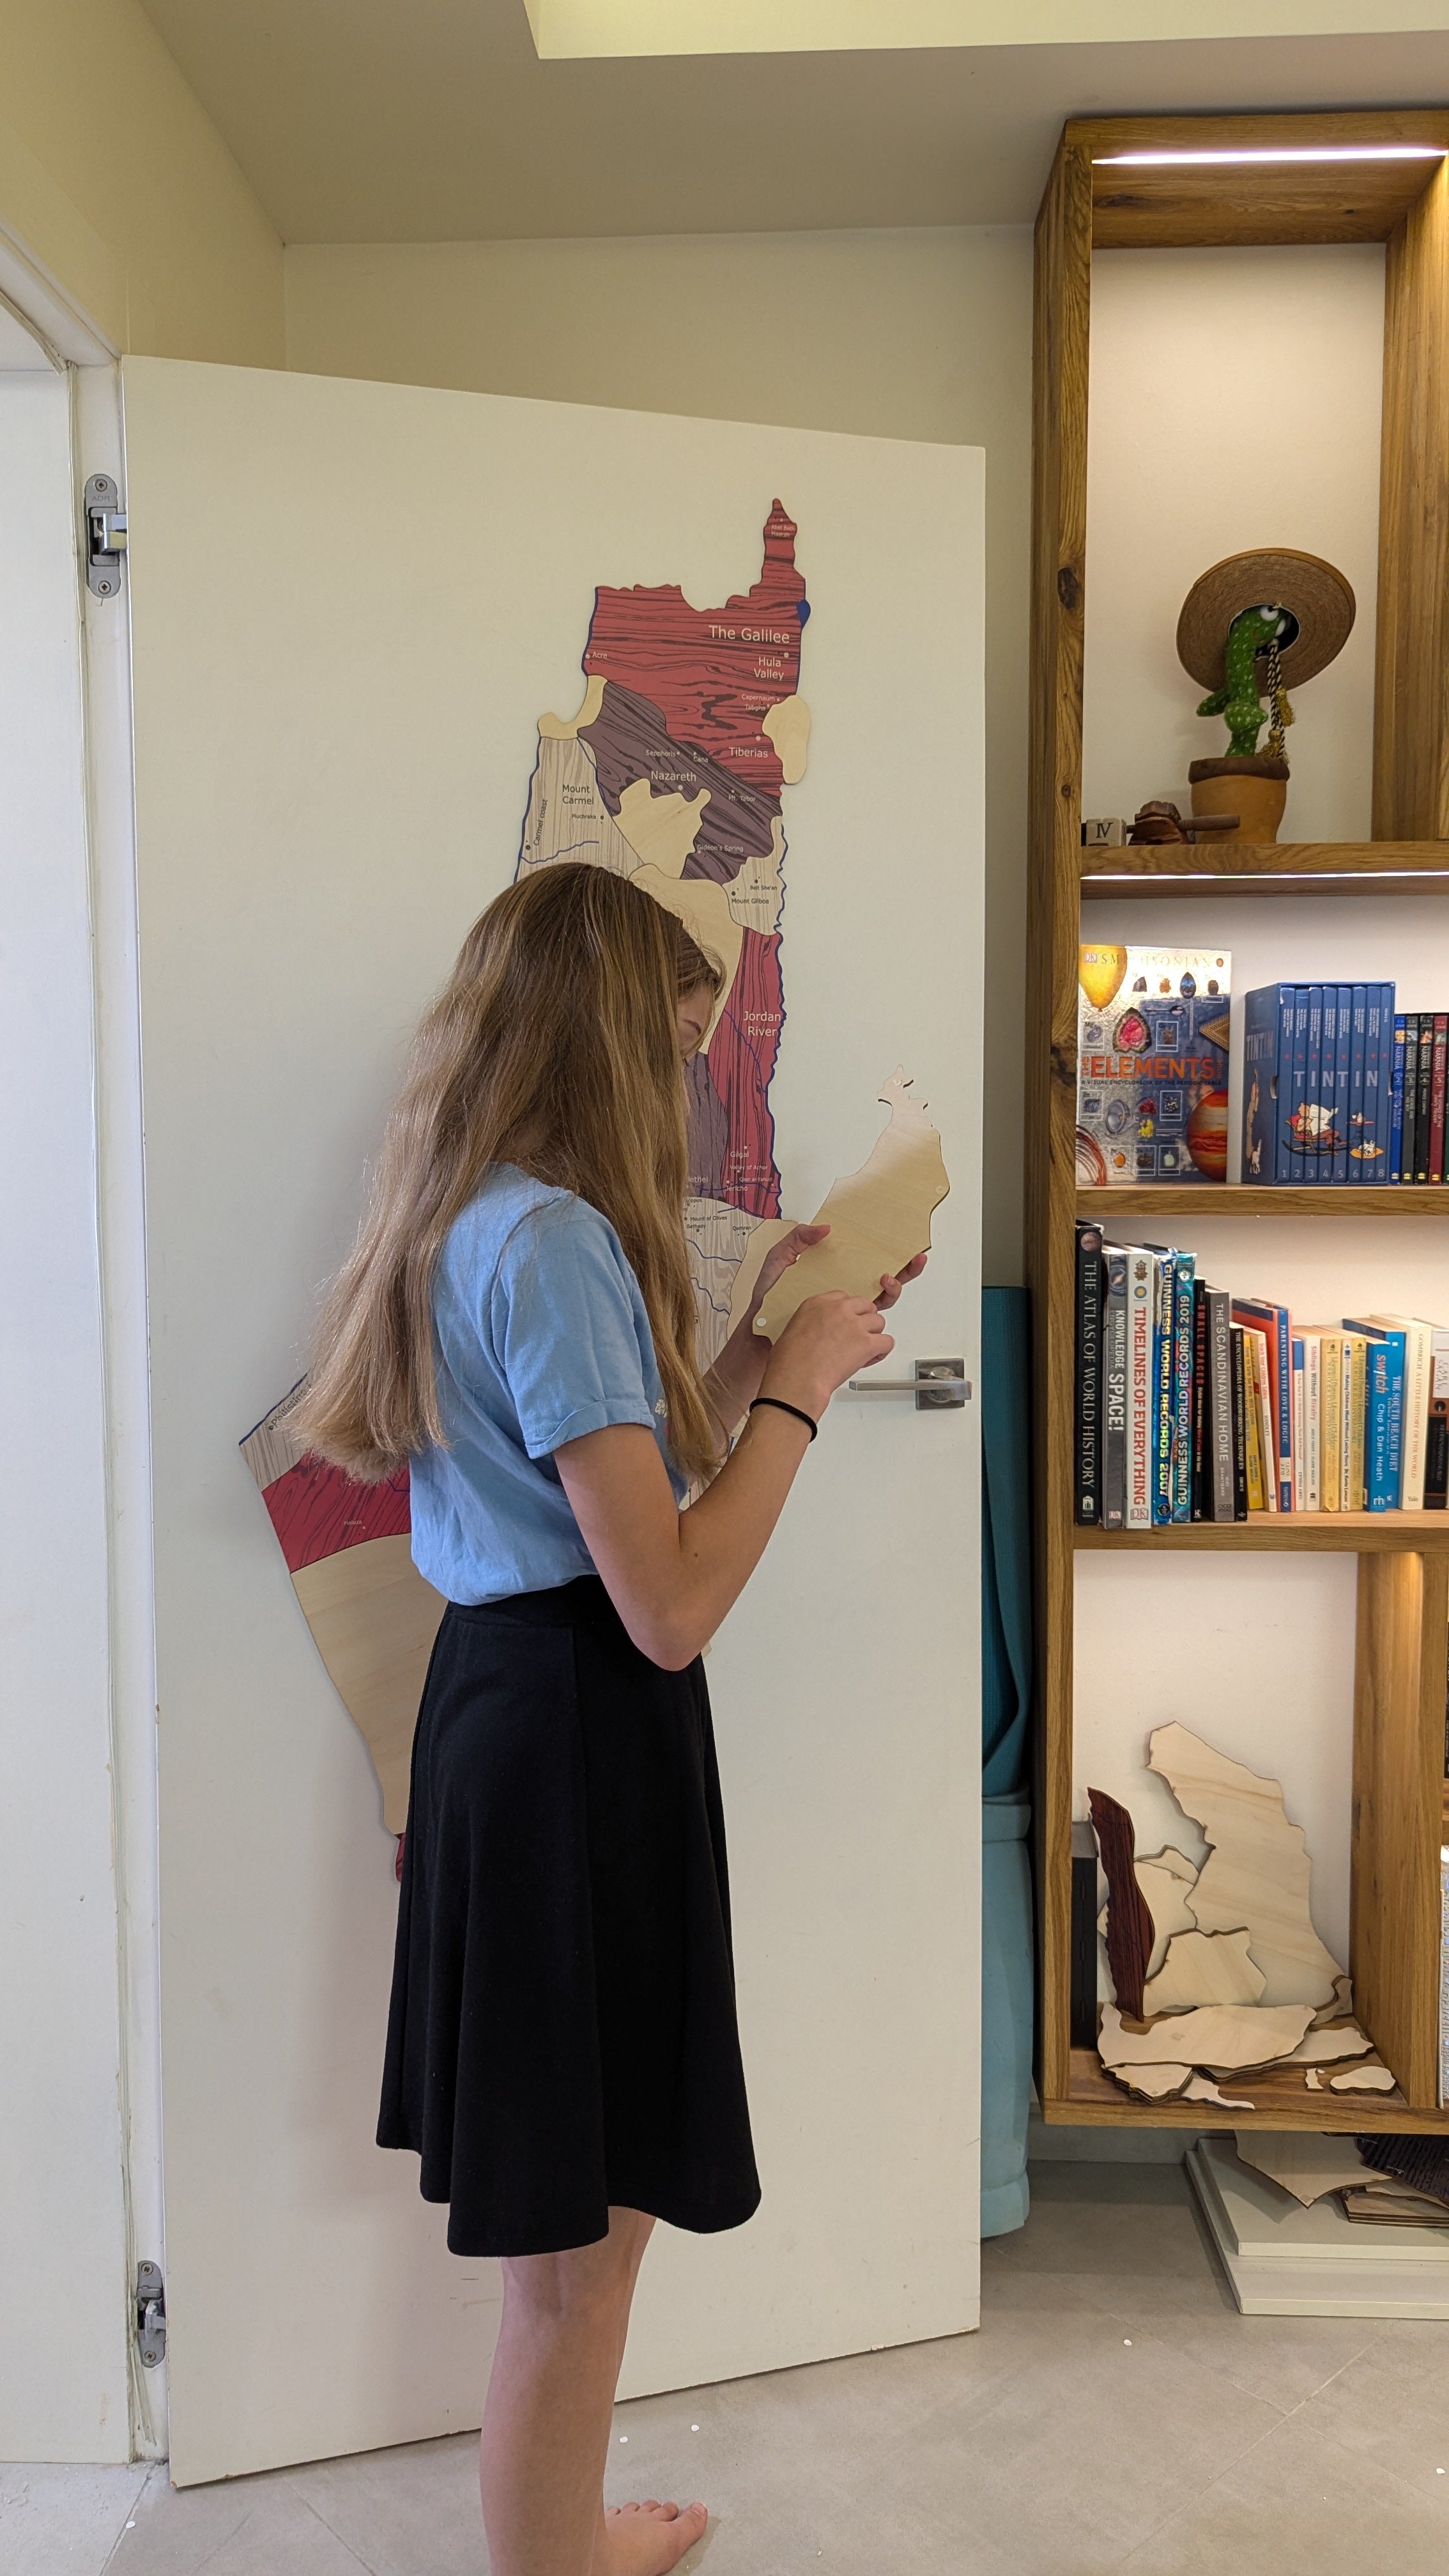
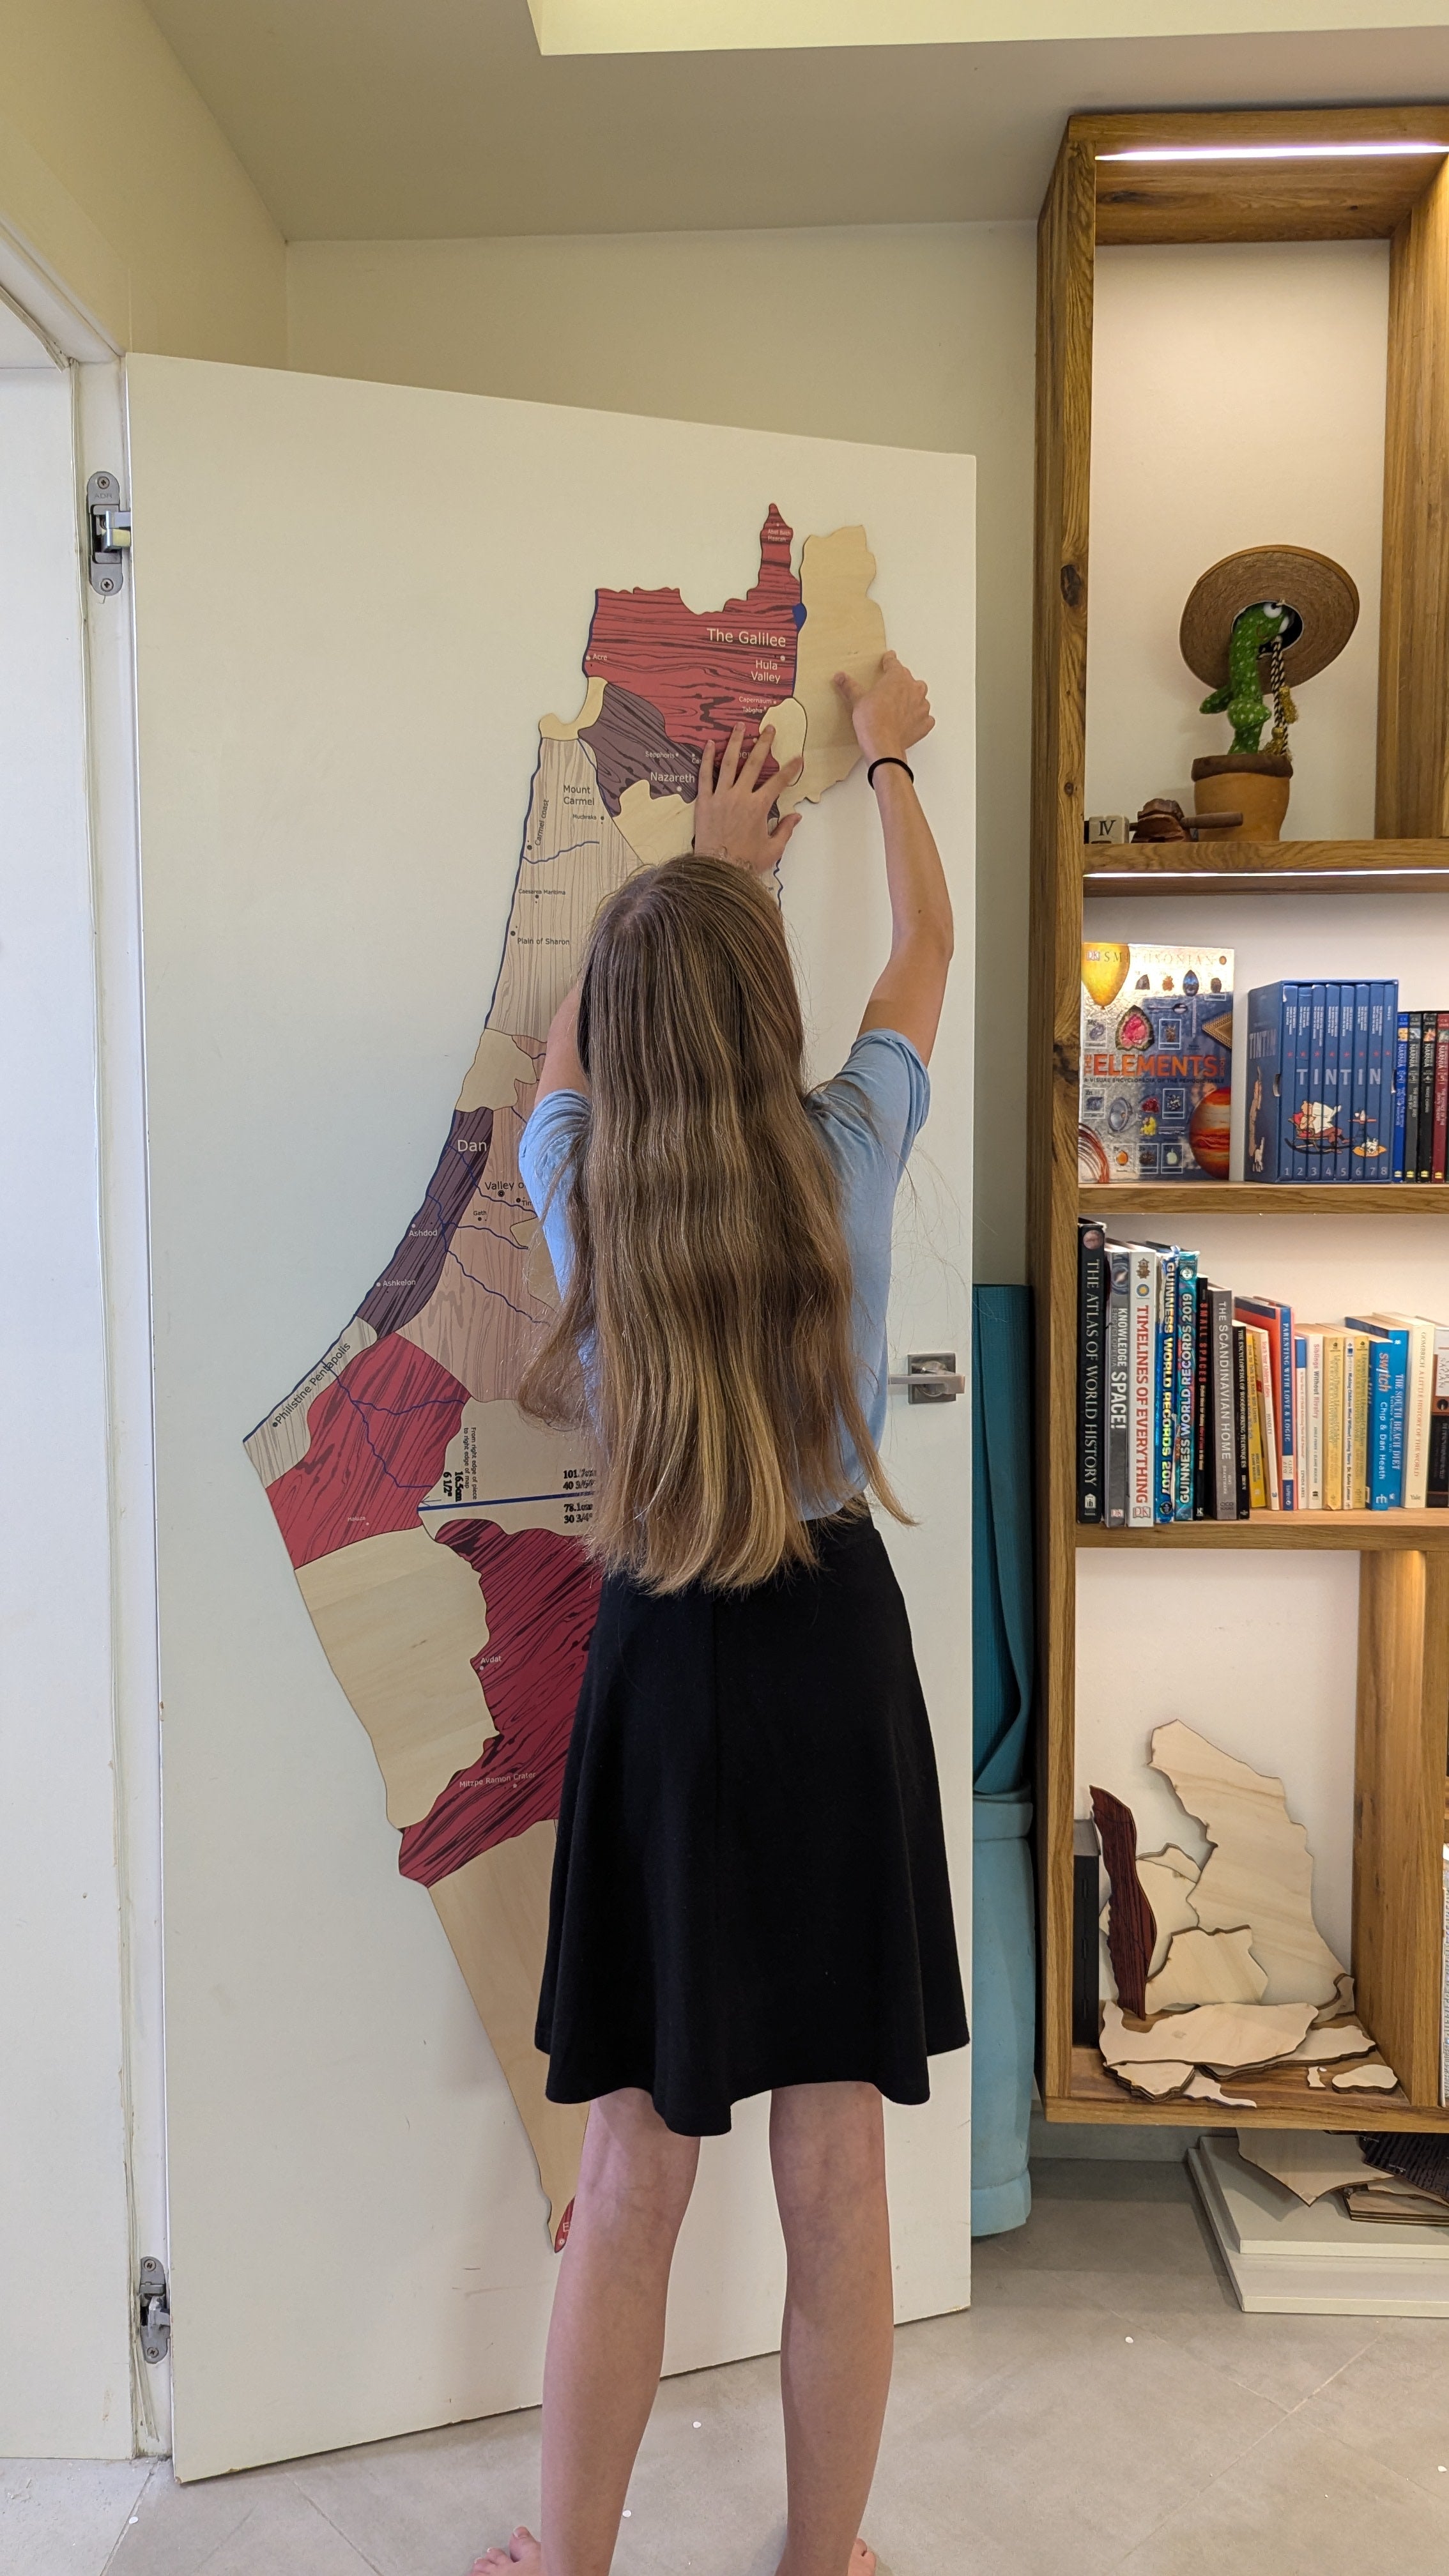
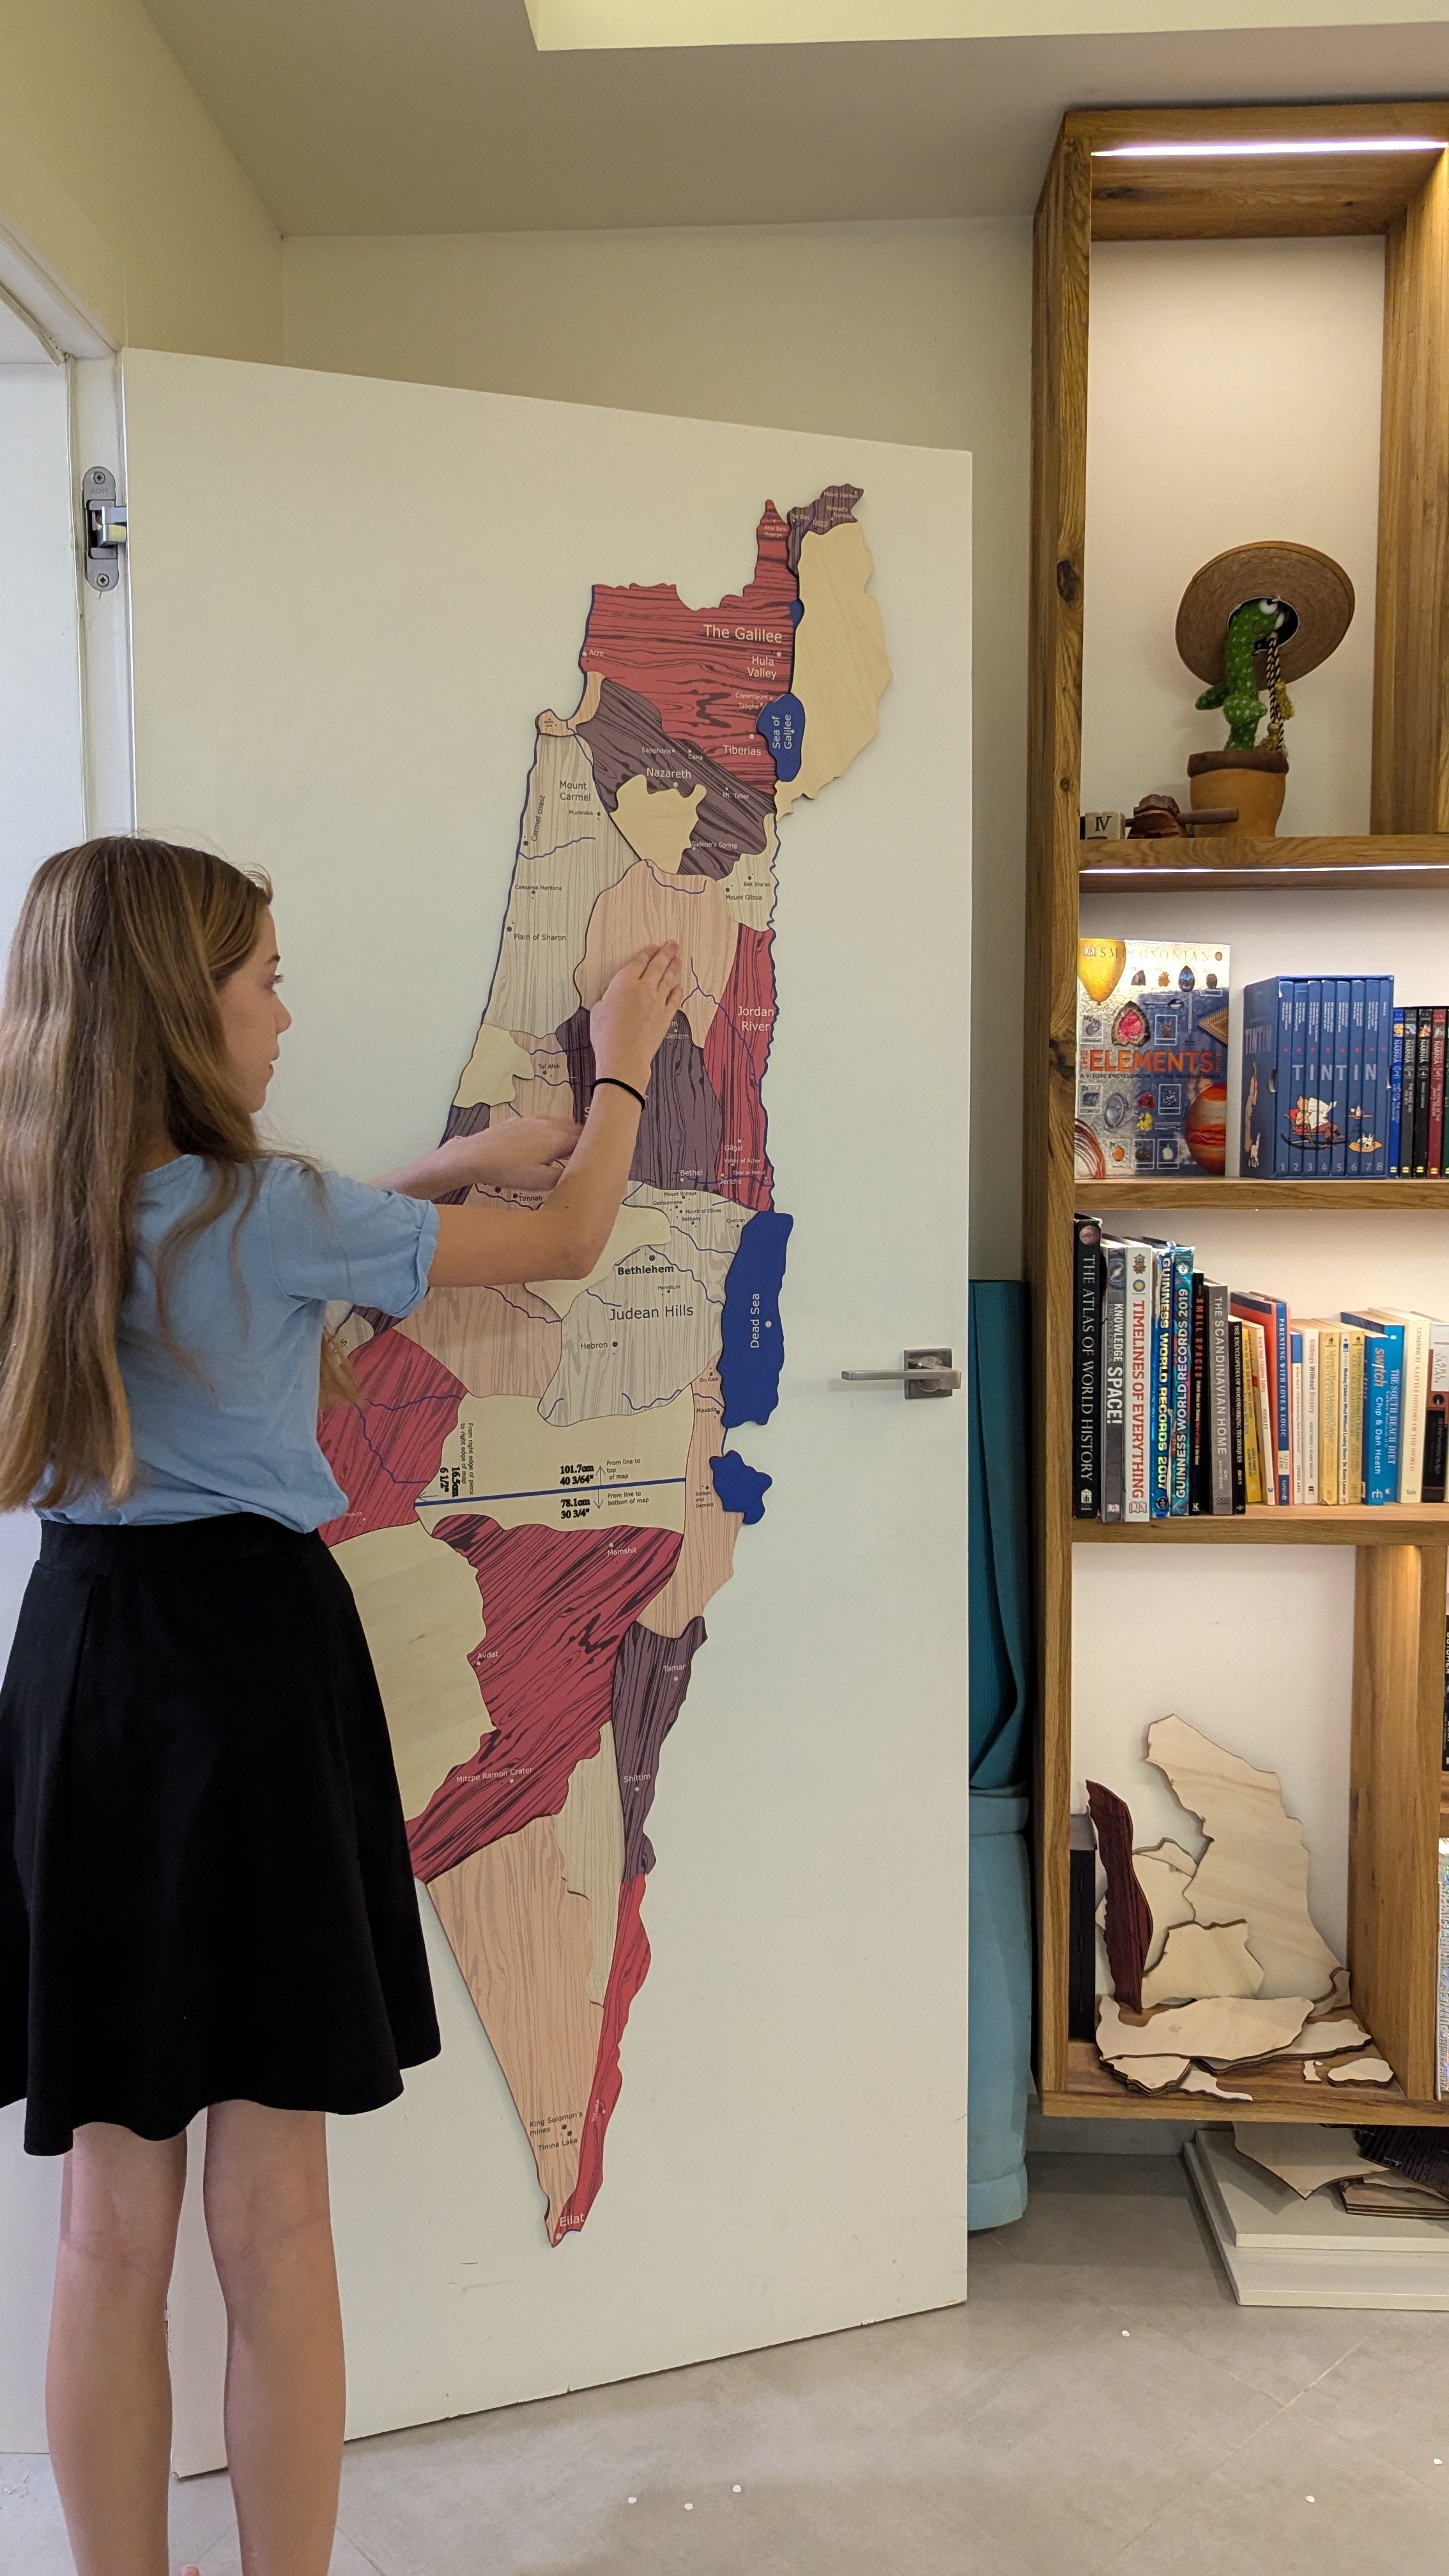
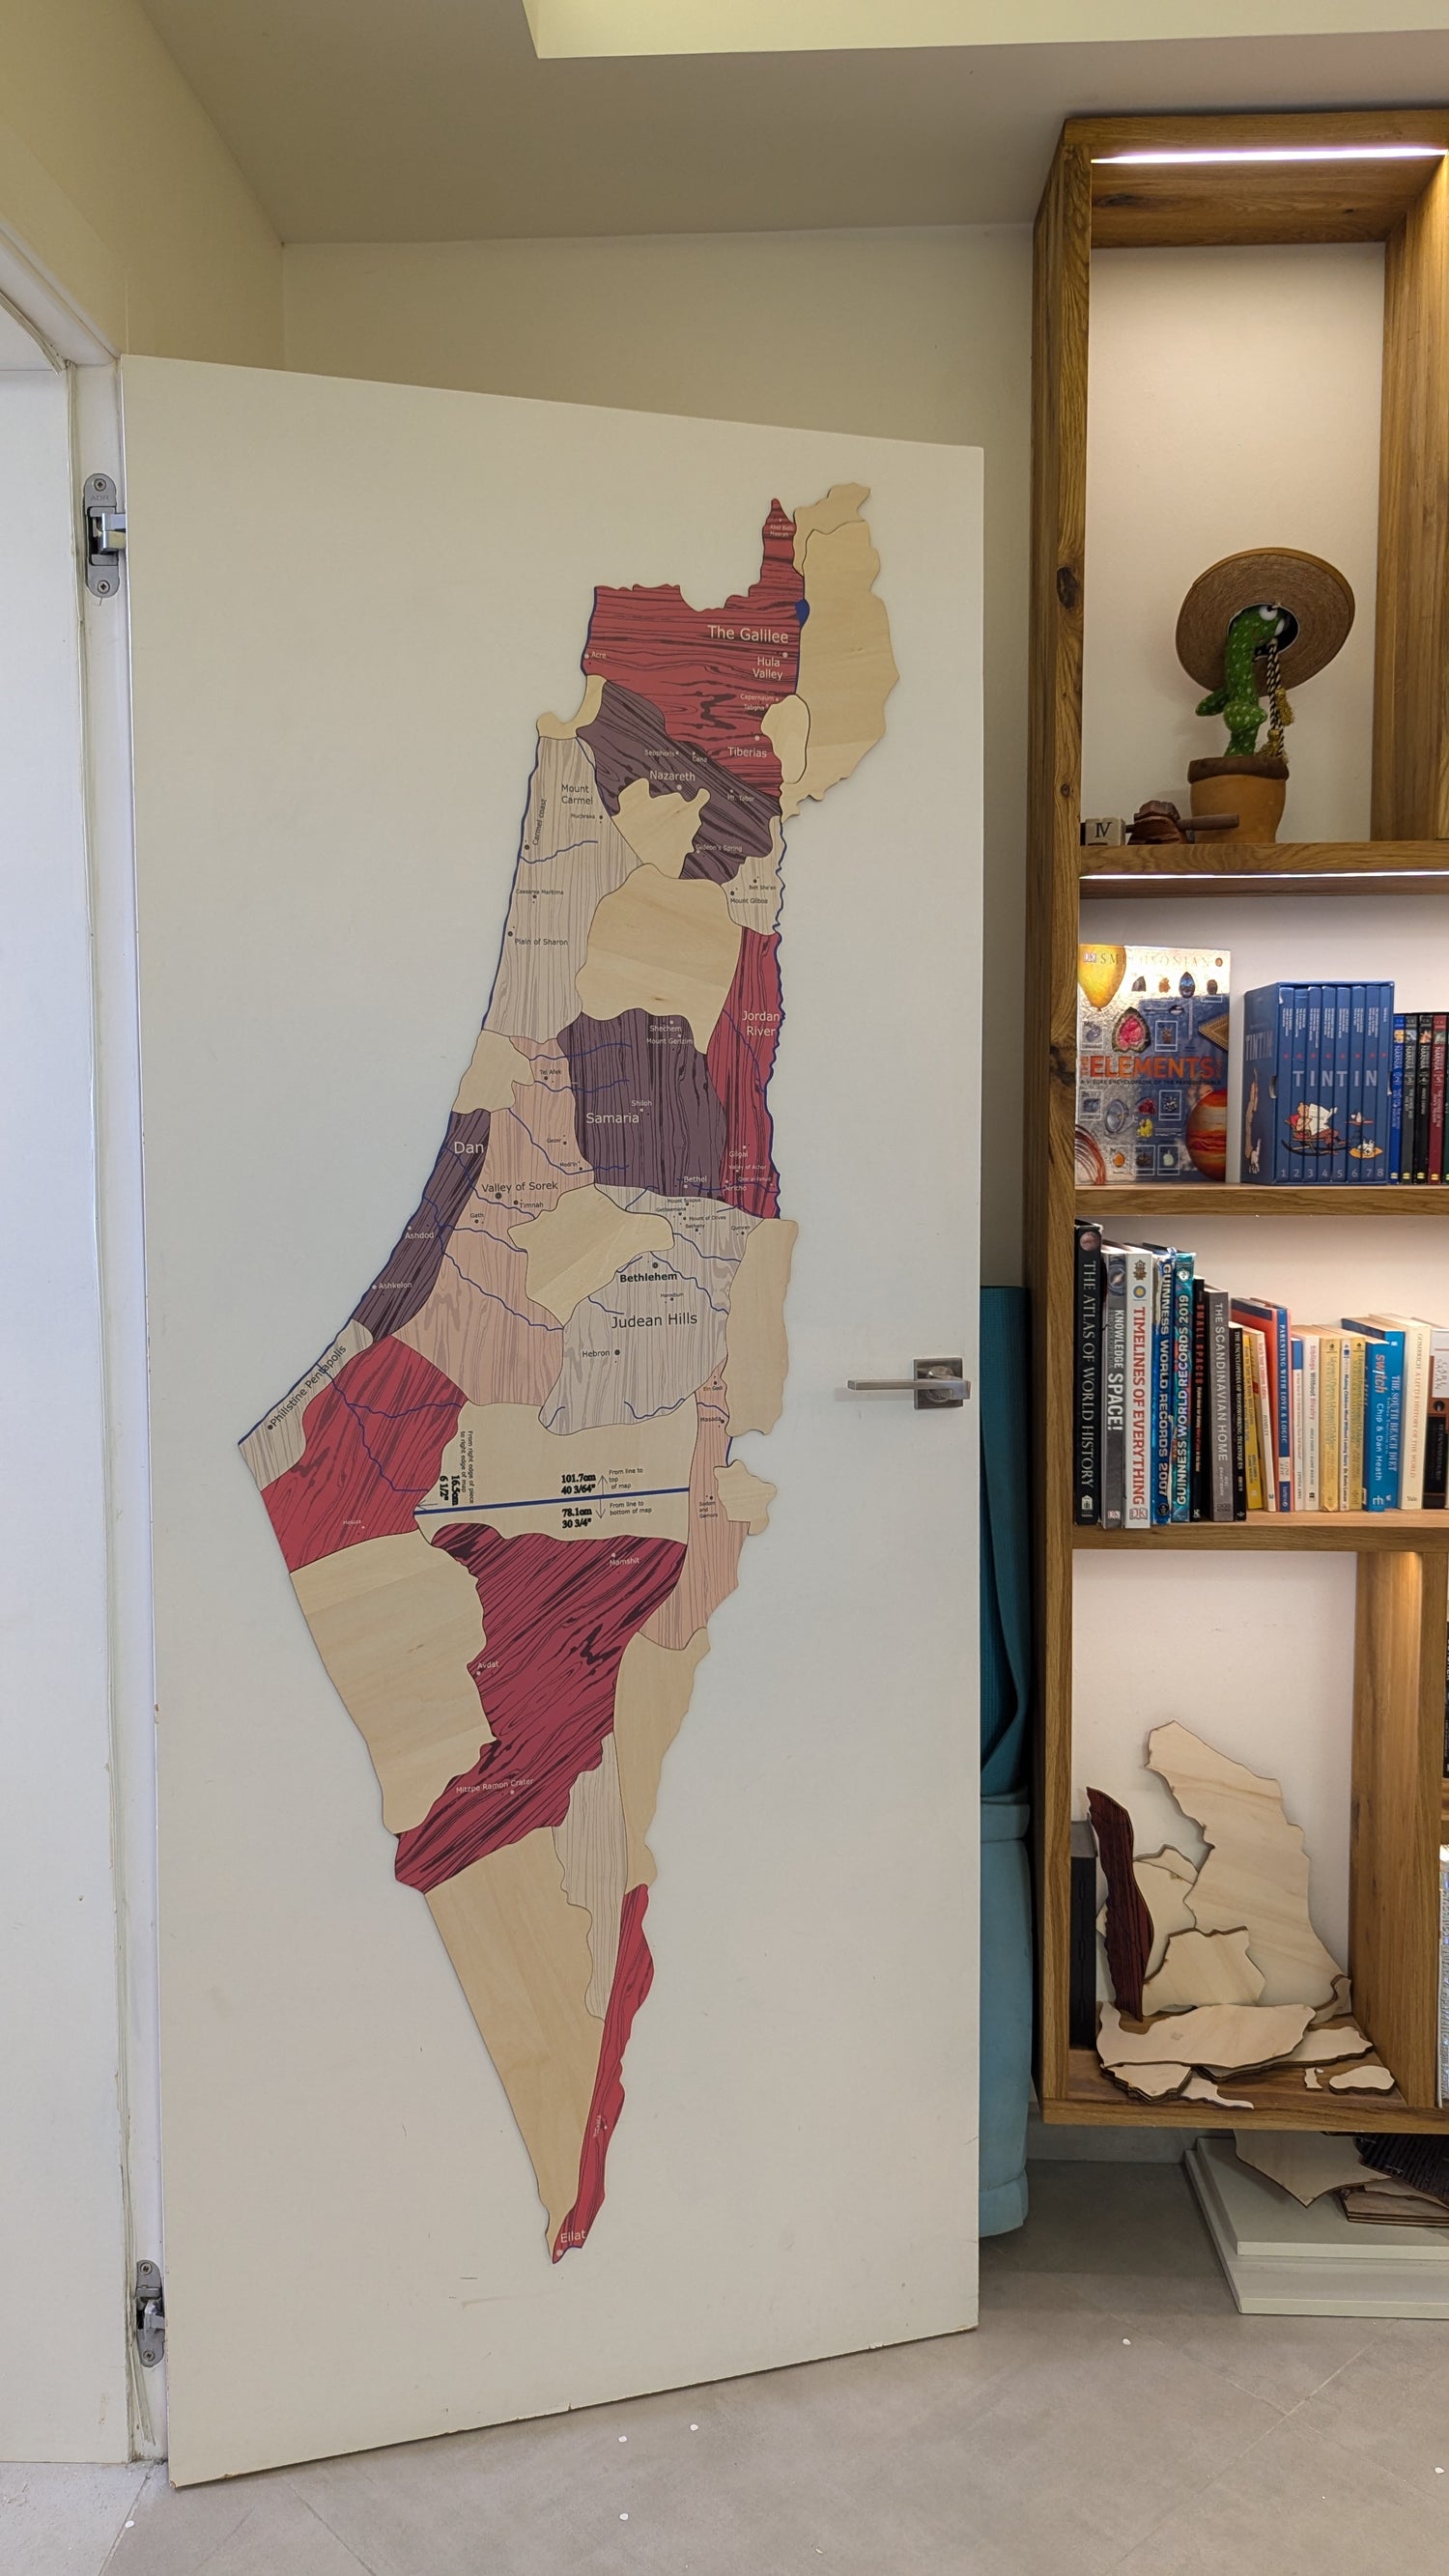
First layer complete
Now that you have the first layer done, go back and add on the second and third layer pieces where needed. Any piece that had 1 or 2 copies with no color will have a second or third layer to add.
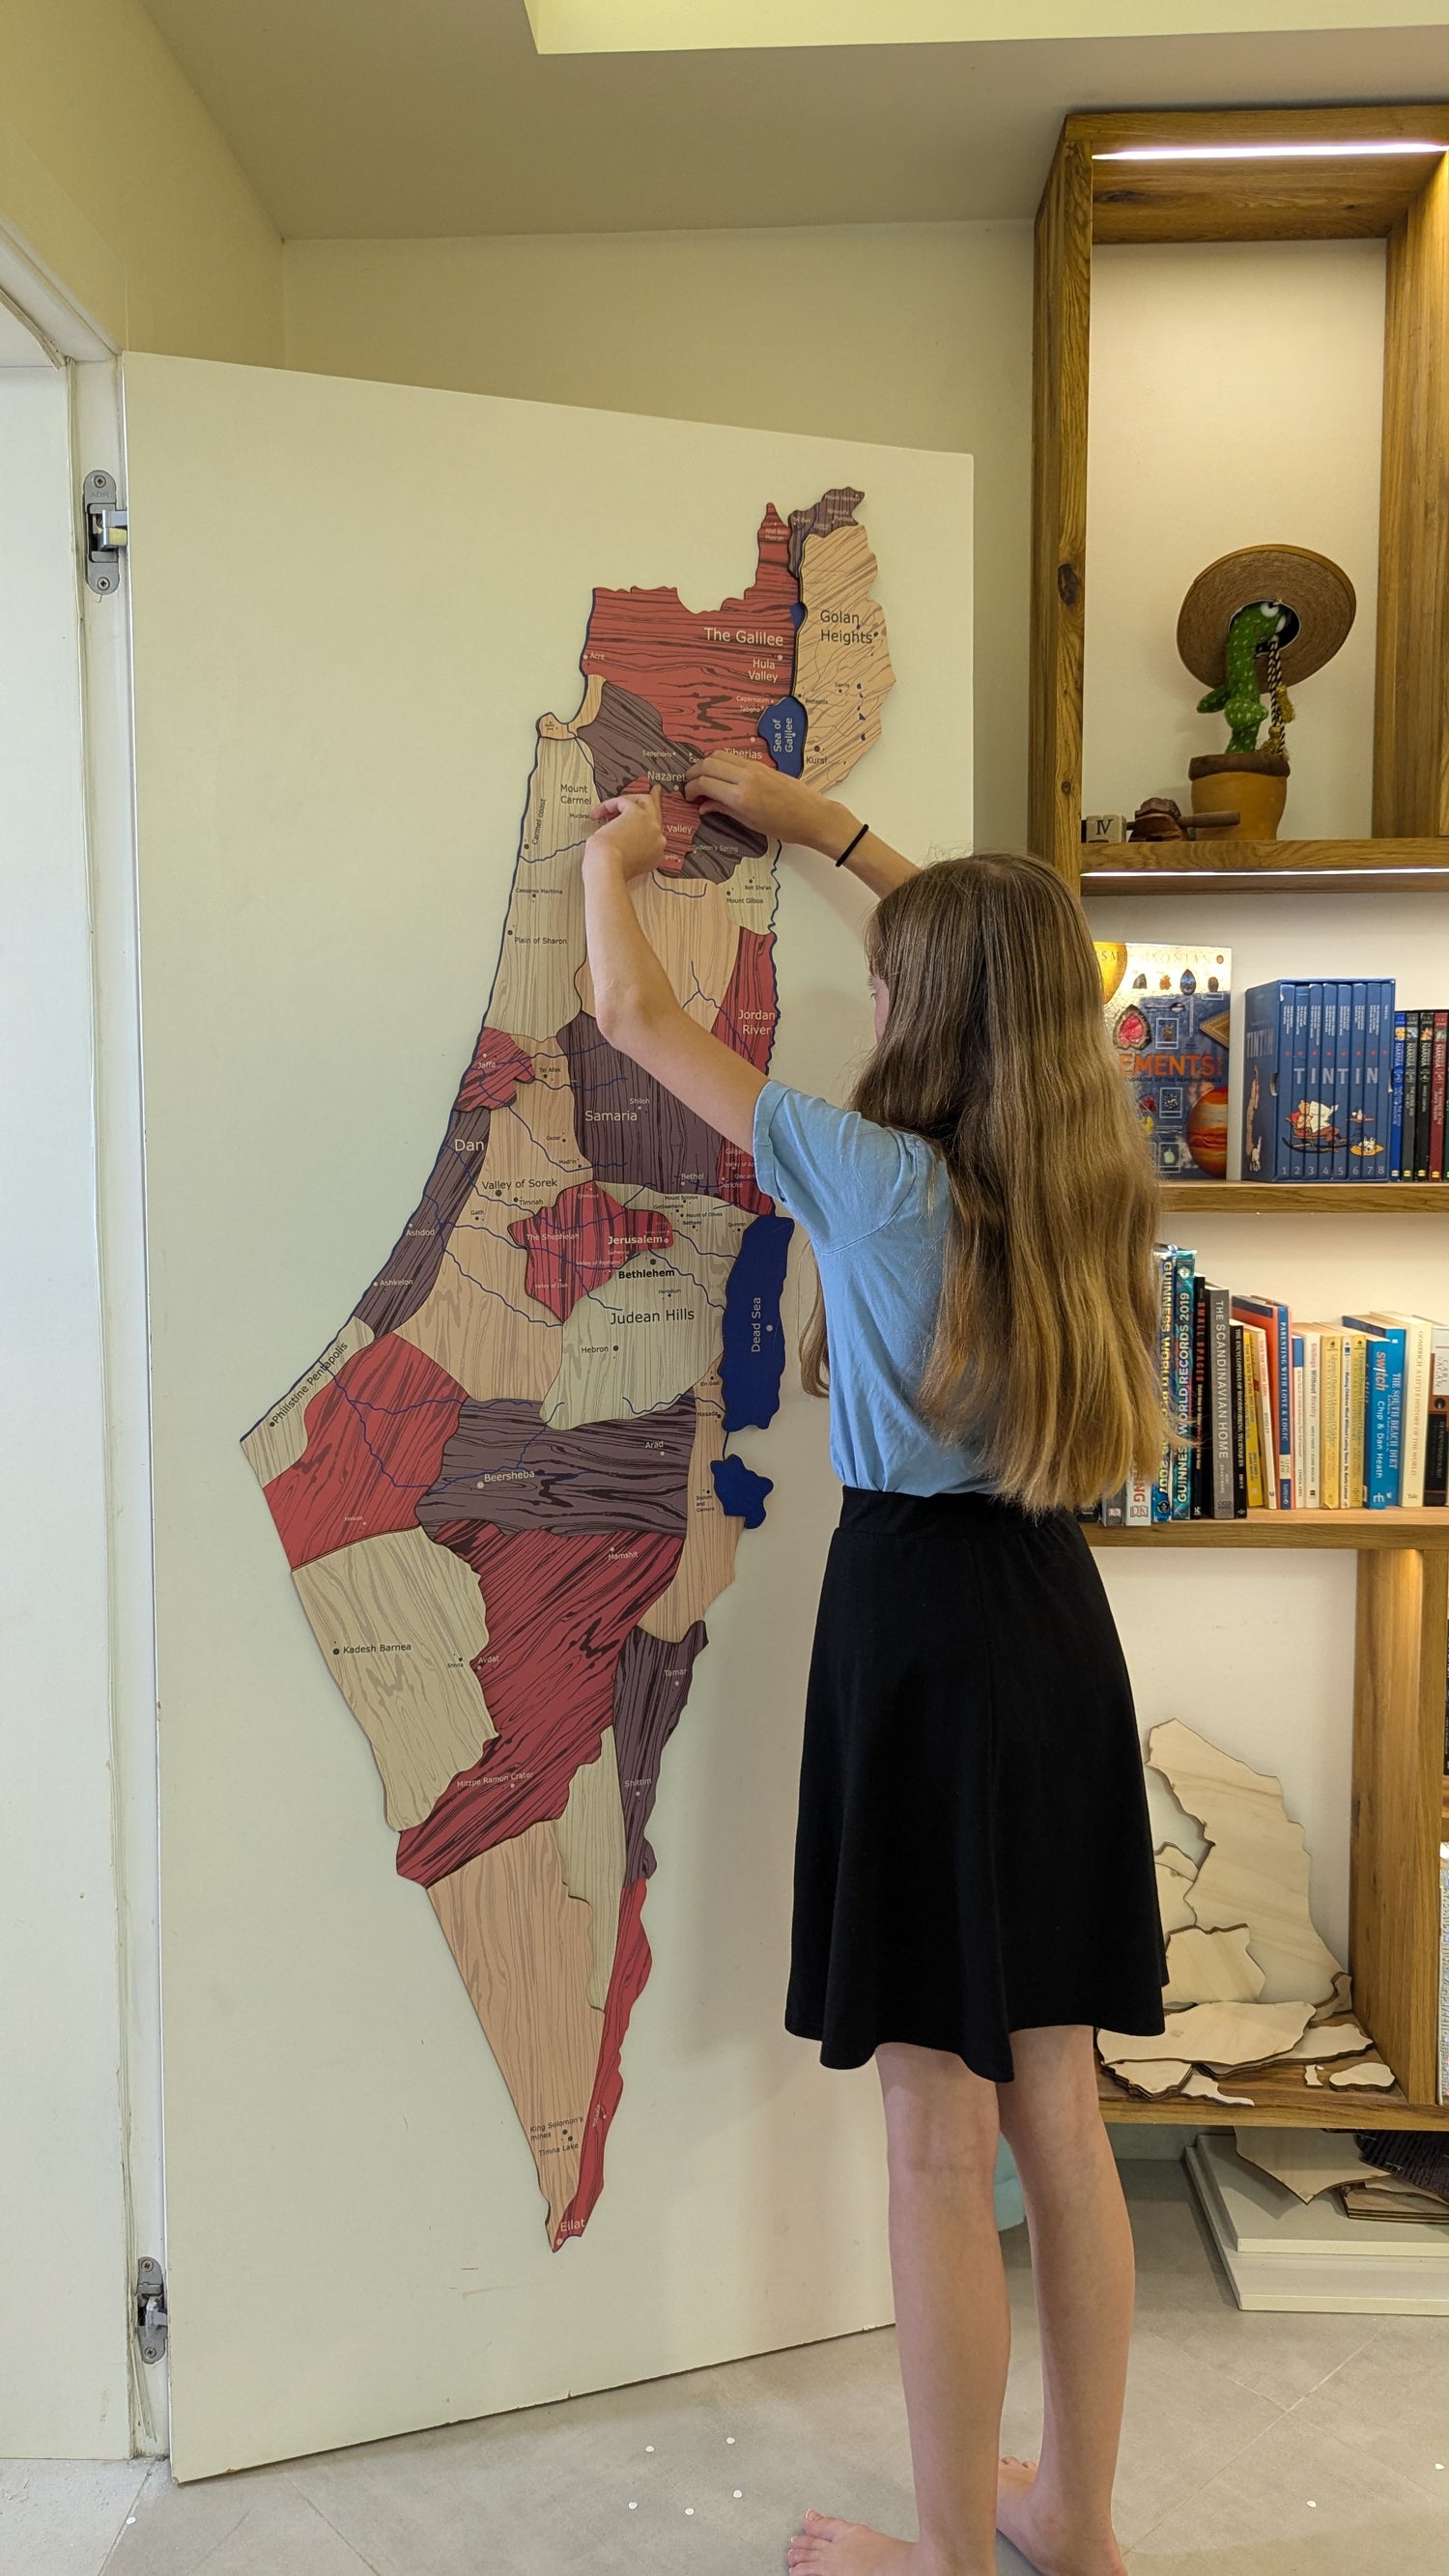
You made it
Step back and admire your new artwork.
The included pins are there for when you want to plan a trip, or just plan an educational activity with your child around a particular location. A great way to illustrate distances between places.
As a rule of thumb, every inch is around 3 3/4 miles (every cm on the map is 2 1/3km). You can measure between places and get a good feel for actual distances.
You can see the GIF or the video as a further guide.
